Custom Columns for Requirements
In the context of this documentation “Valispace“ will be called “Requirements and Systems Portal“.
The Requirements and Systems Portal has a lot of default columns available in the Requirements Module, where each column serves a very specific task in the context of Requirements Management. The available columns (and to enable or disable them) can be accessed either on the column header by clicking on the three dashes (![]() ) or on the right side by clicking on columns (see Figure Enabling Default Columns).
) or on the right side by clicking on columns (see Figure Enabling Default Columns).
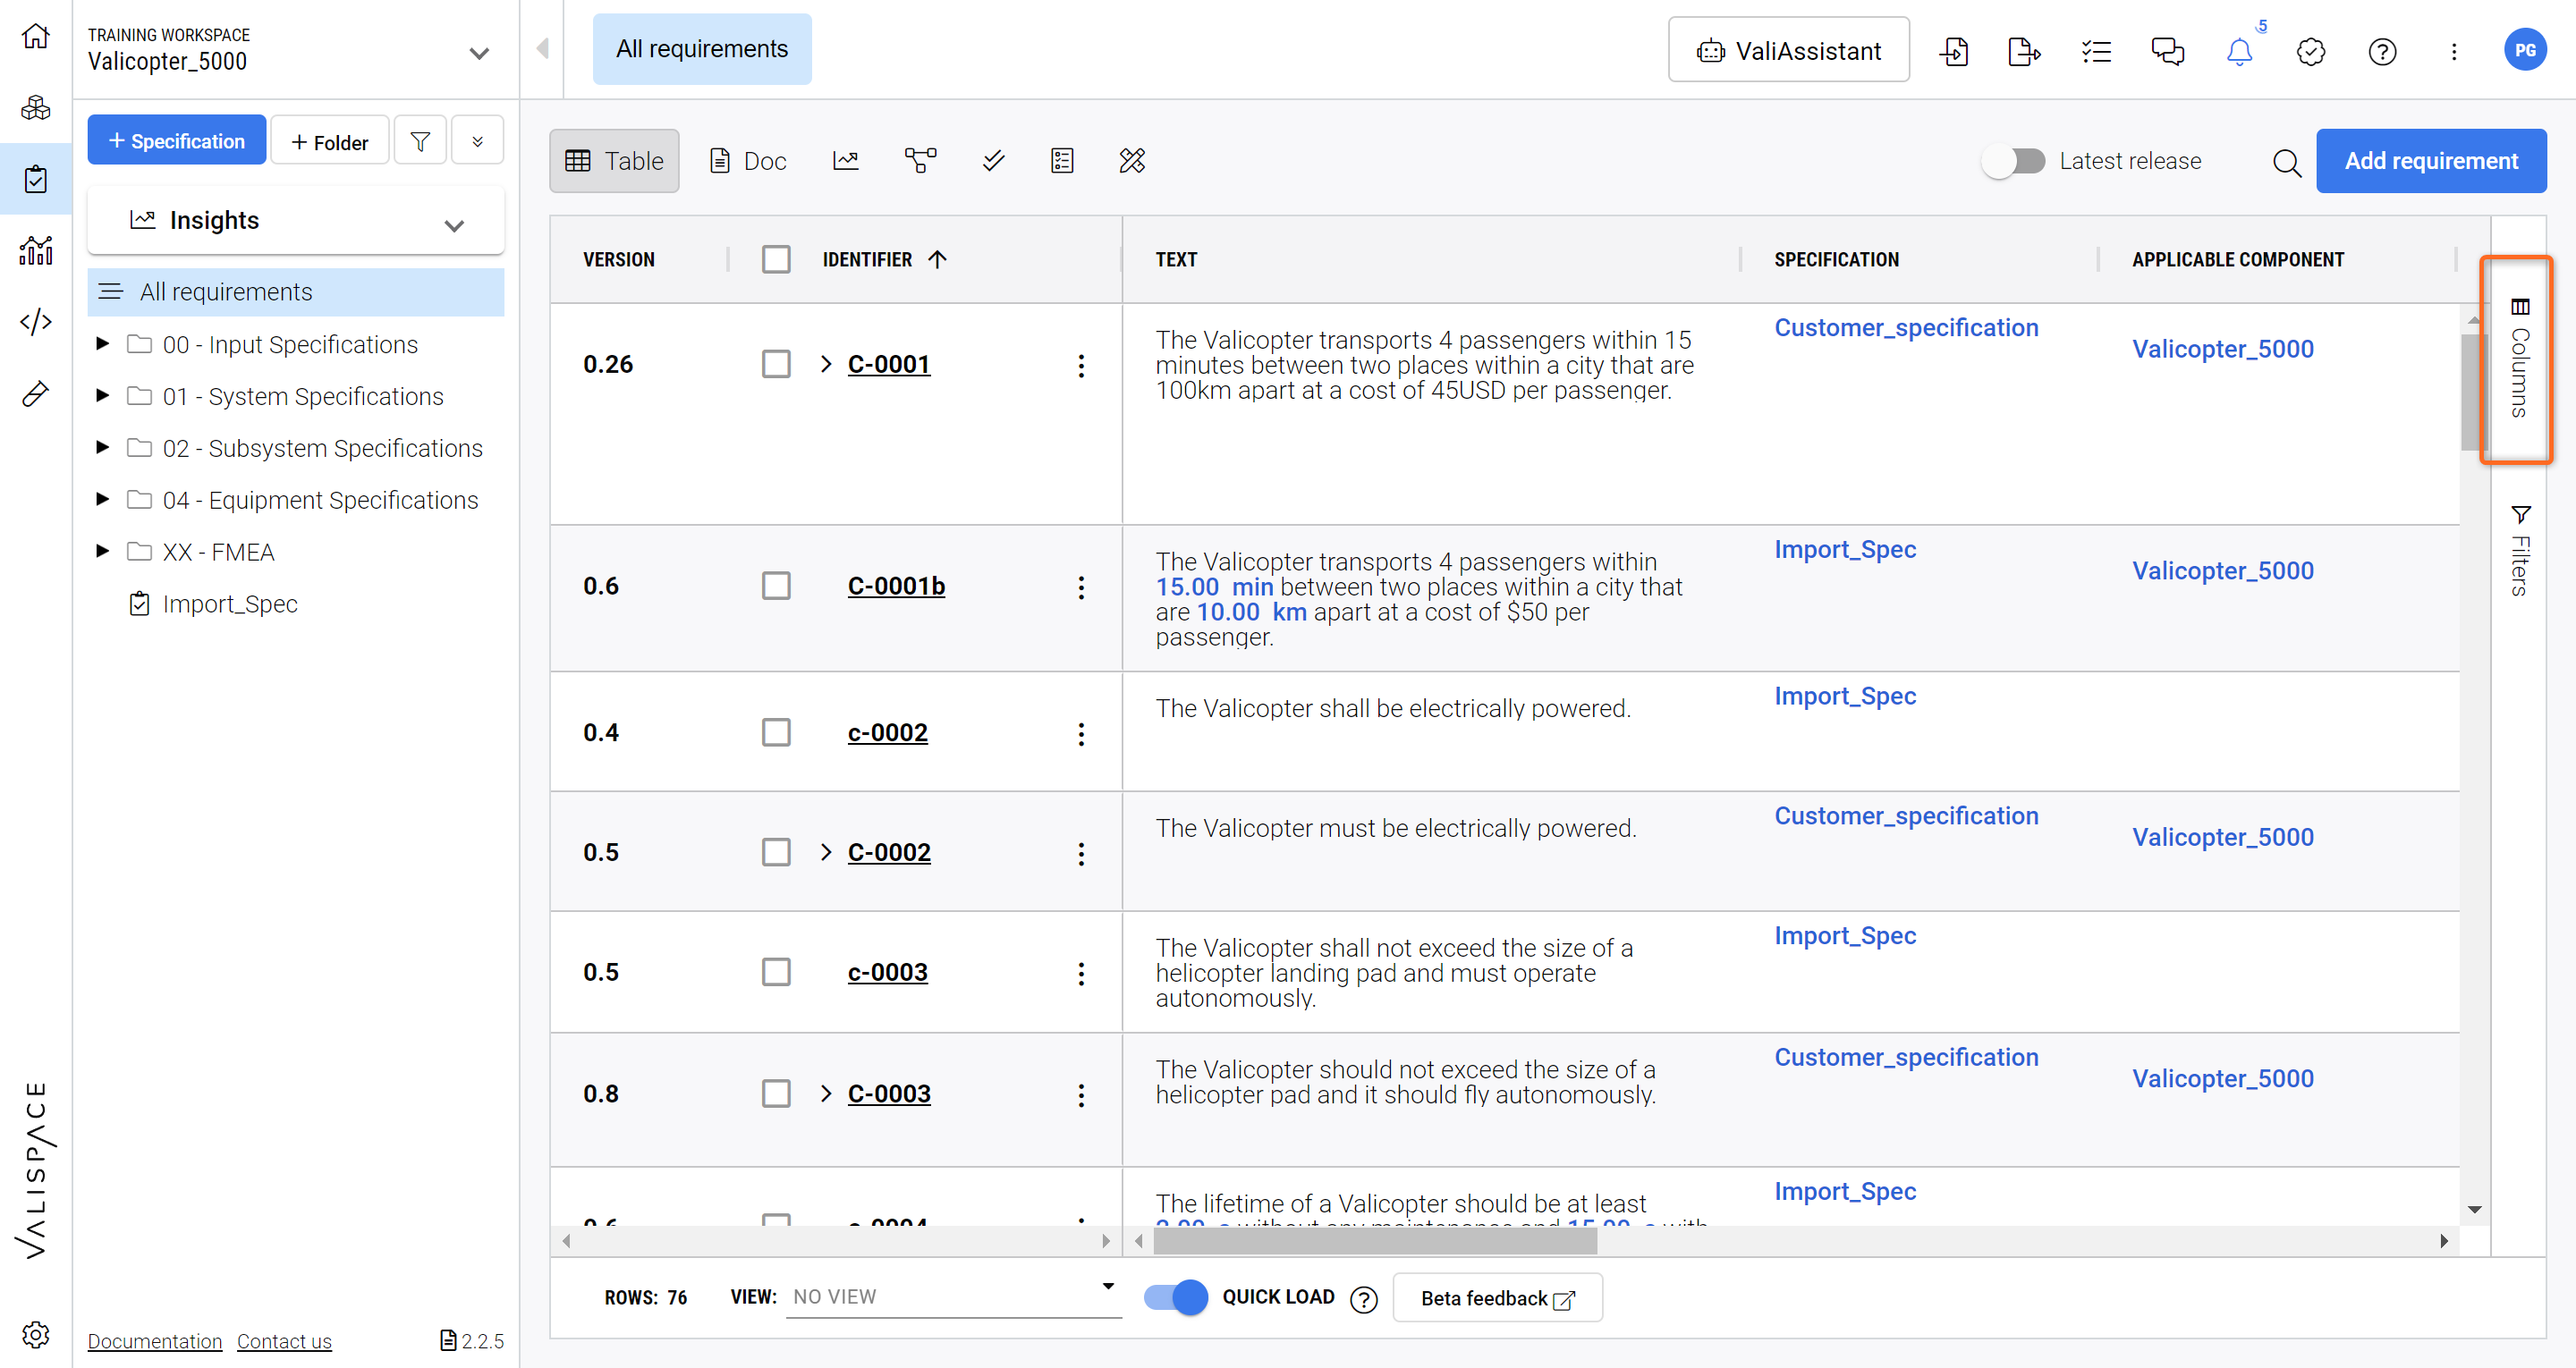
Enabling Default Columns - By clicking here you can see all the available default columns and enable or disable them.
However, you might get to a point where custom columns with specific header names are necessary to accomodate your use-case and workflows.
Accessing Custom Columns
Requirements and Systems Portal offers an easy way of adding Custom Columns to your Requirements table.
The following is an Admin feature and can only be accessed by your admins.
To access the Custom Column feature (see Figure Custom Columns) you have to go into your Settings (1 and 2) and then go into “Custom Columns“ (3).
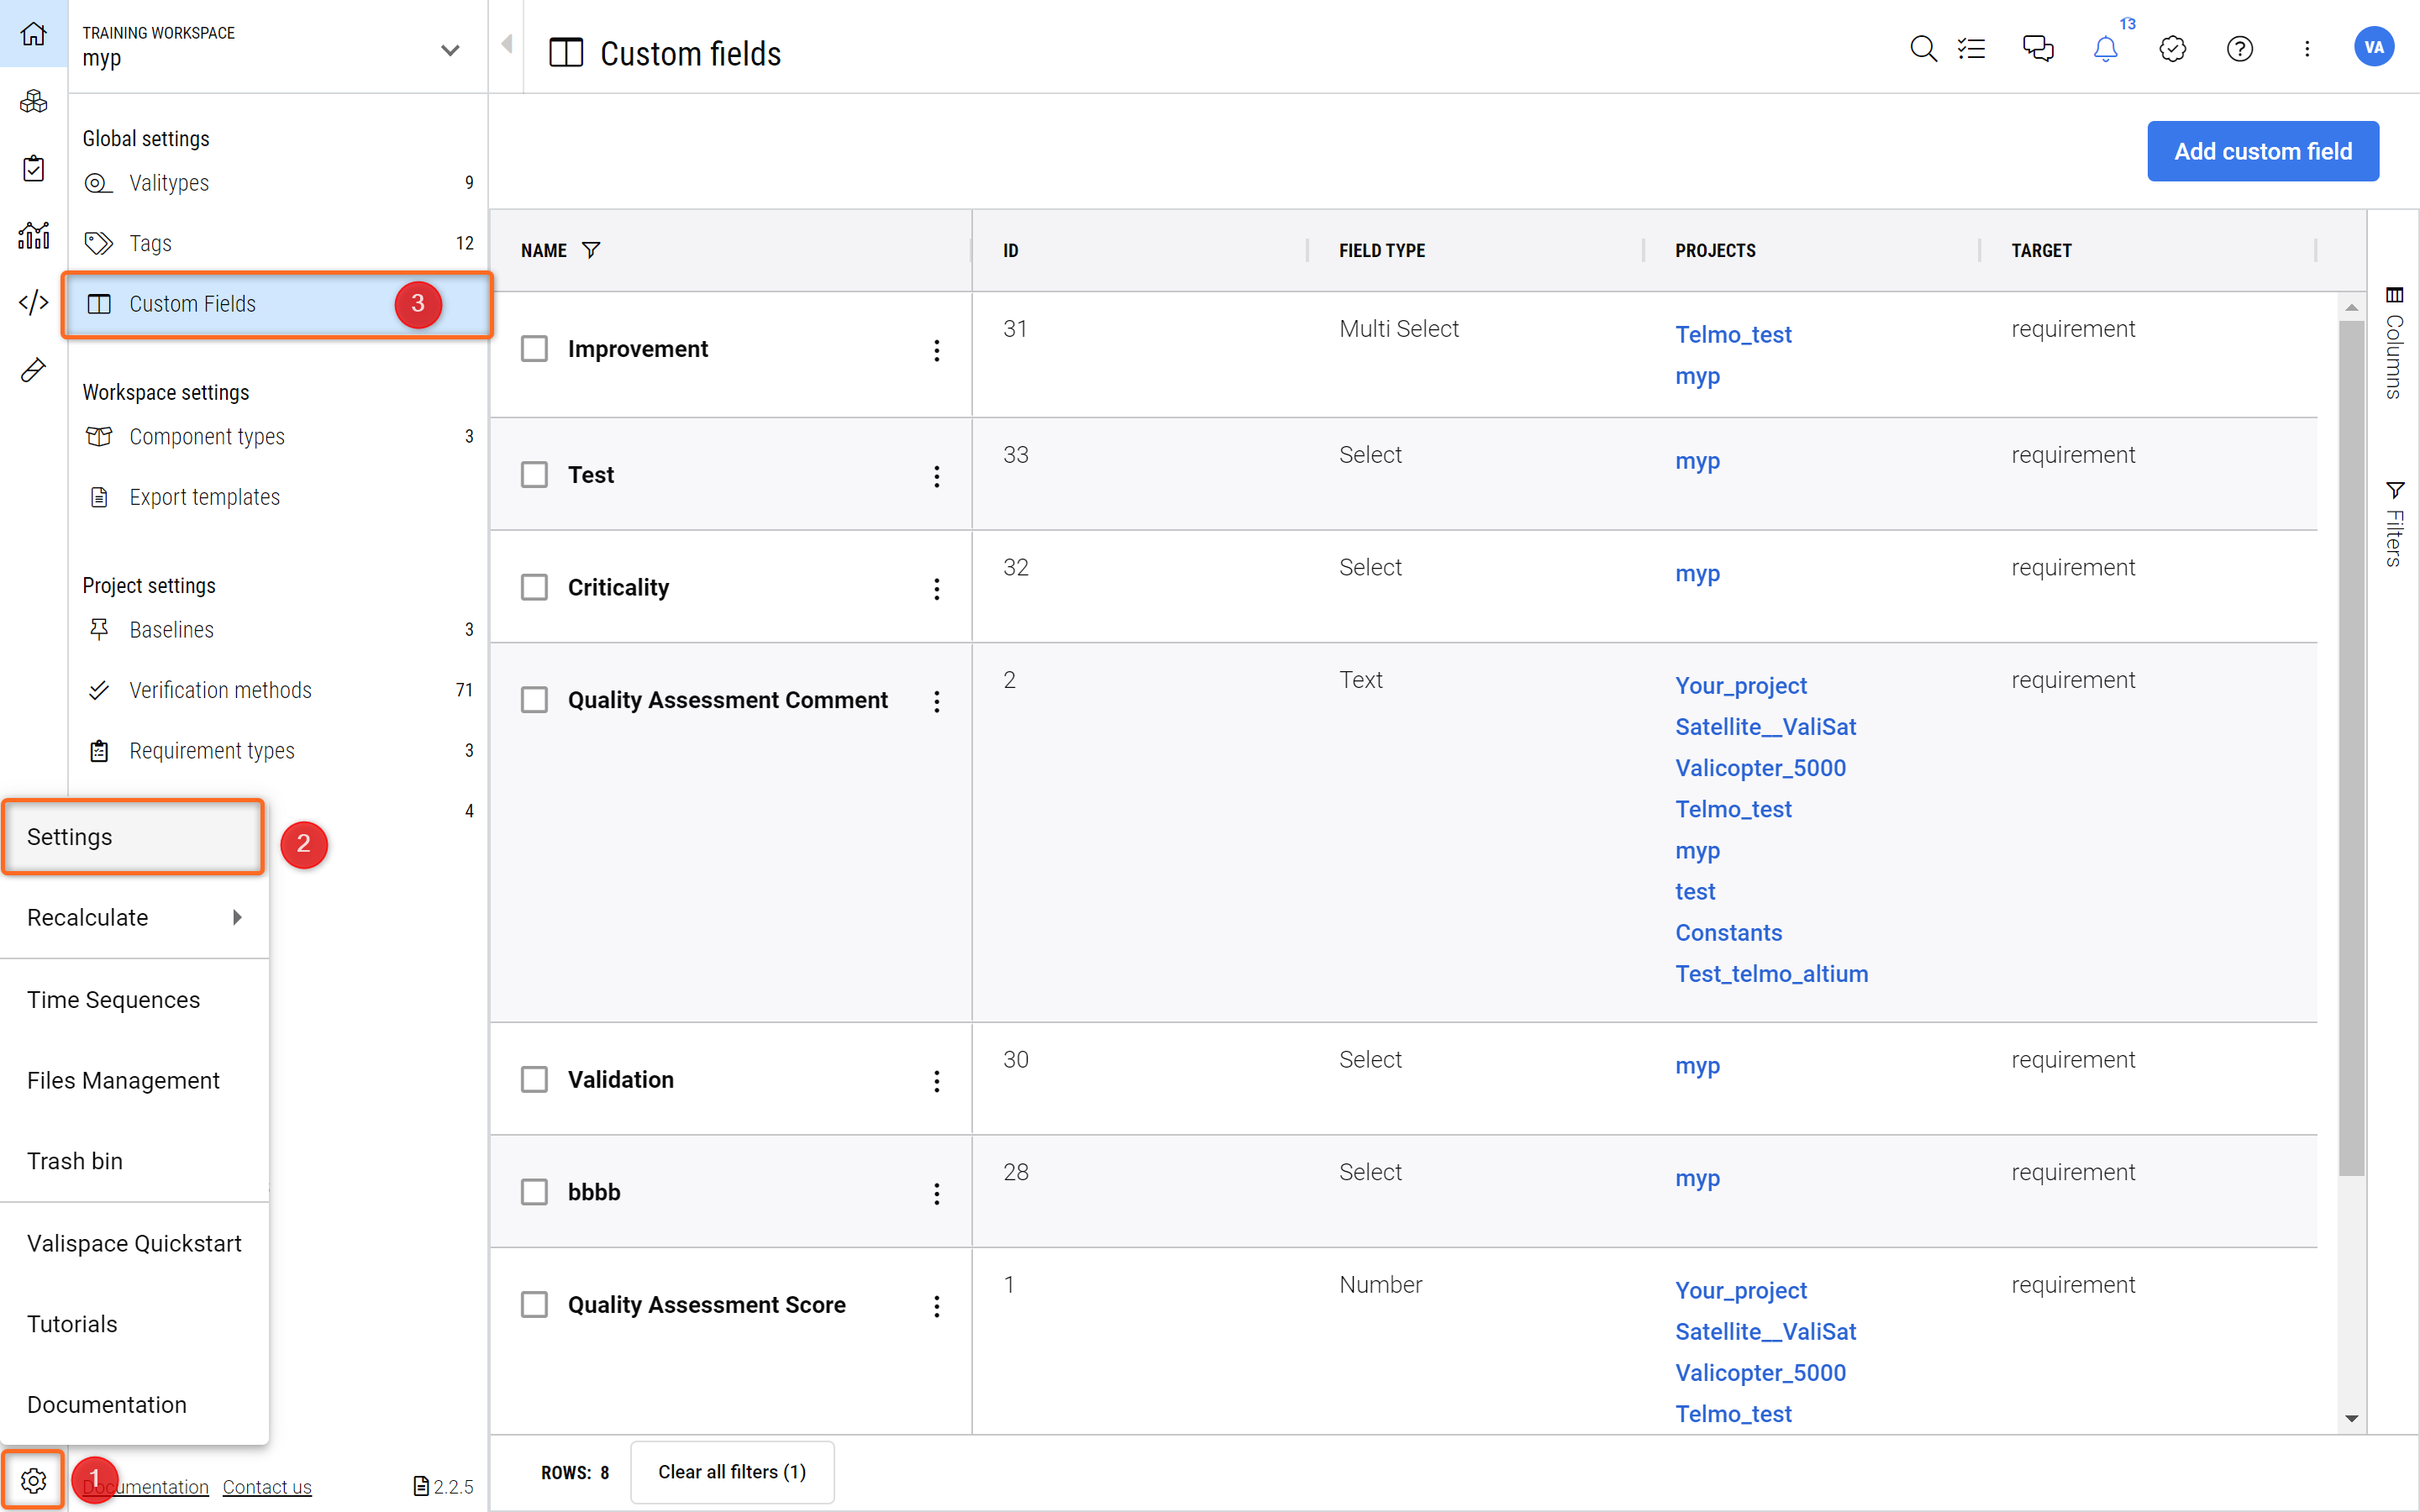
Custom Columns - Here you can define and change custom columns.
This will show you a list of already defined custom columns that are available.
Adding New Custom Columns
There are 5 types of Custom Columns that you can add:
Text - A rich text field (possibility for Bold, Itallic, Colours etc.) for alphanumerical entries.
Selection Field - A selection field where you will be presented with a dropdown list to choose from. There are two distinct types:
Select - You can only select one option from the dropdown list.
Multi Select - Various options from the dropdown list can be addedd.
Date - A date and hour can be selected from a date interface.
Number - A numerical field that only accepts numbers (non-rich text).
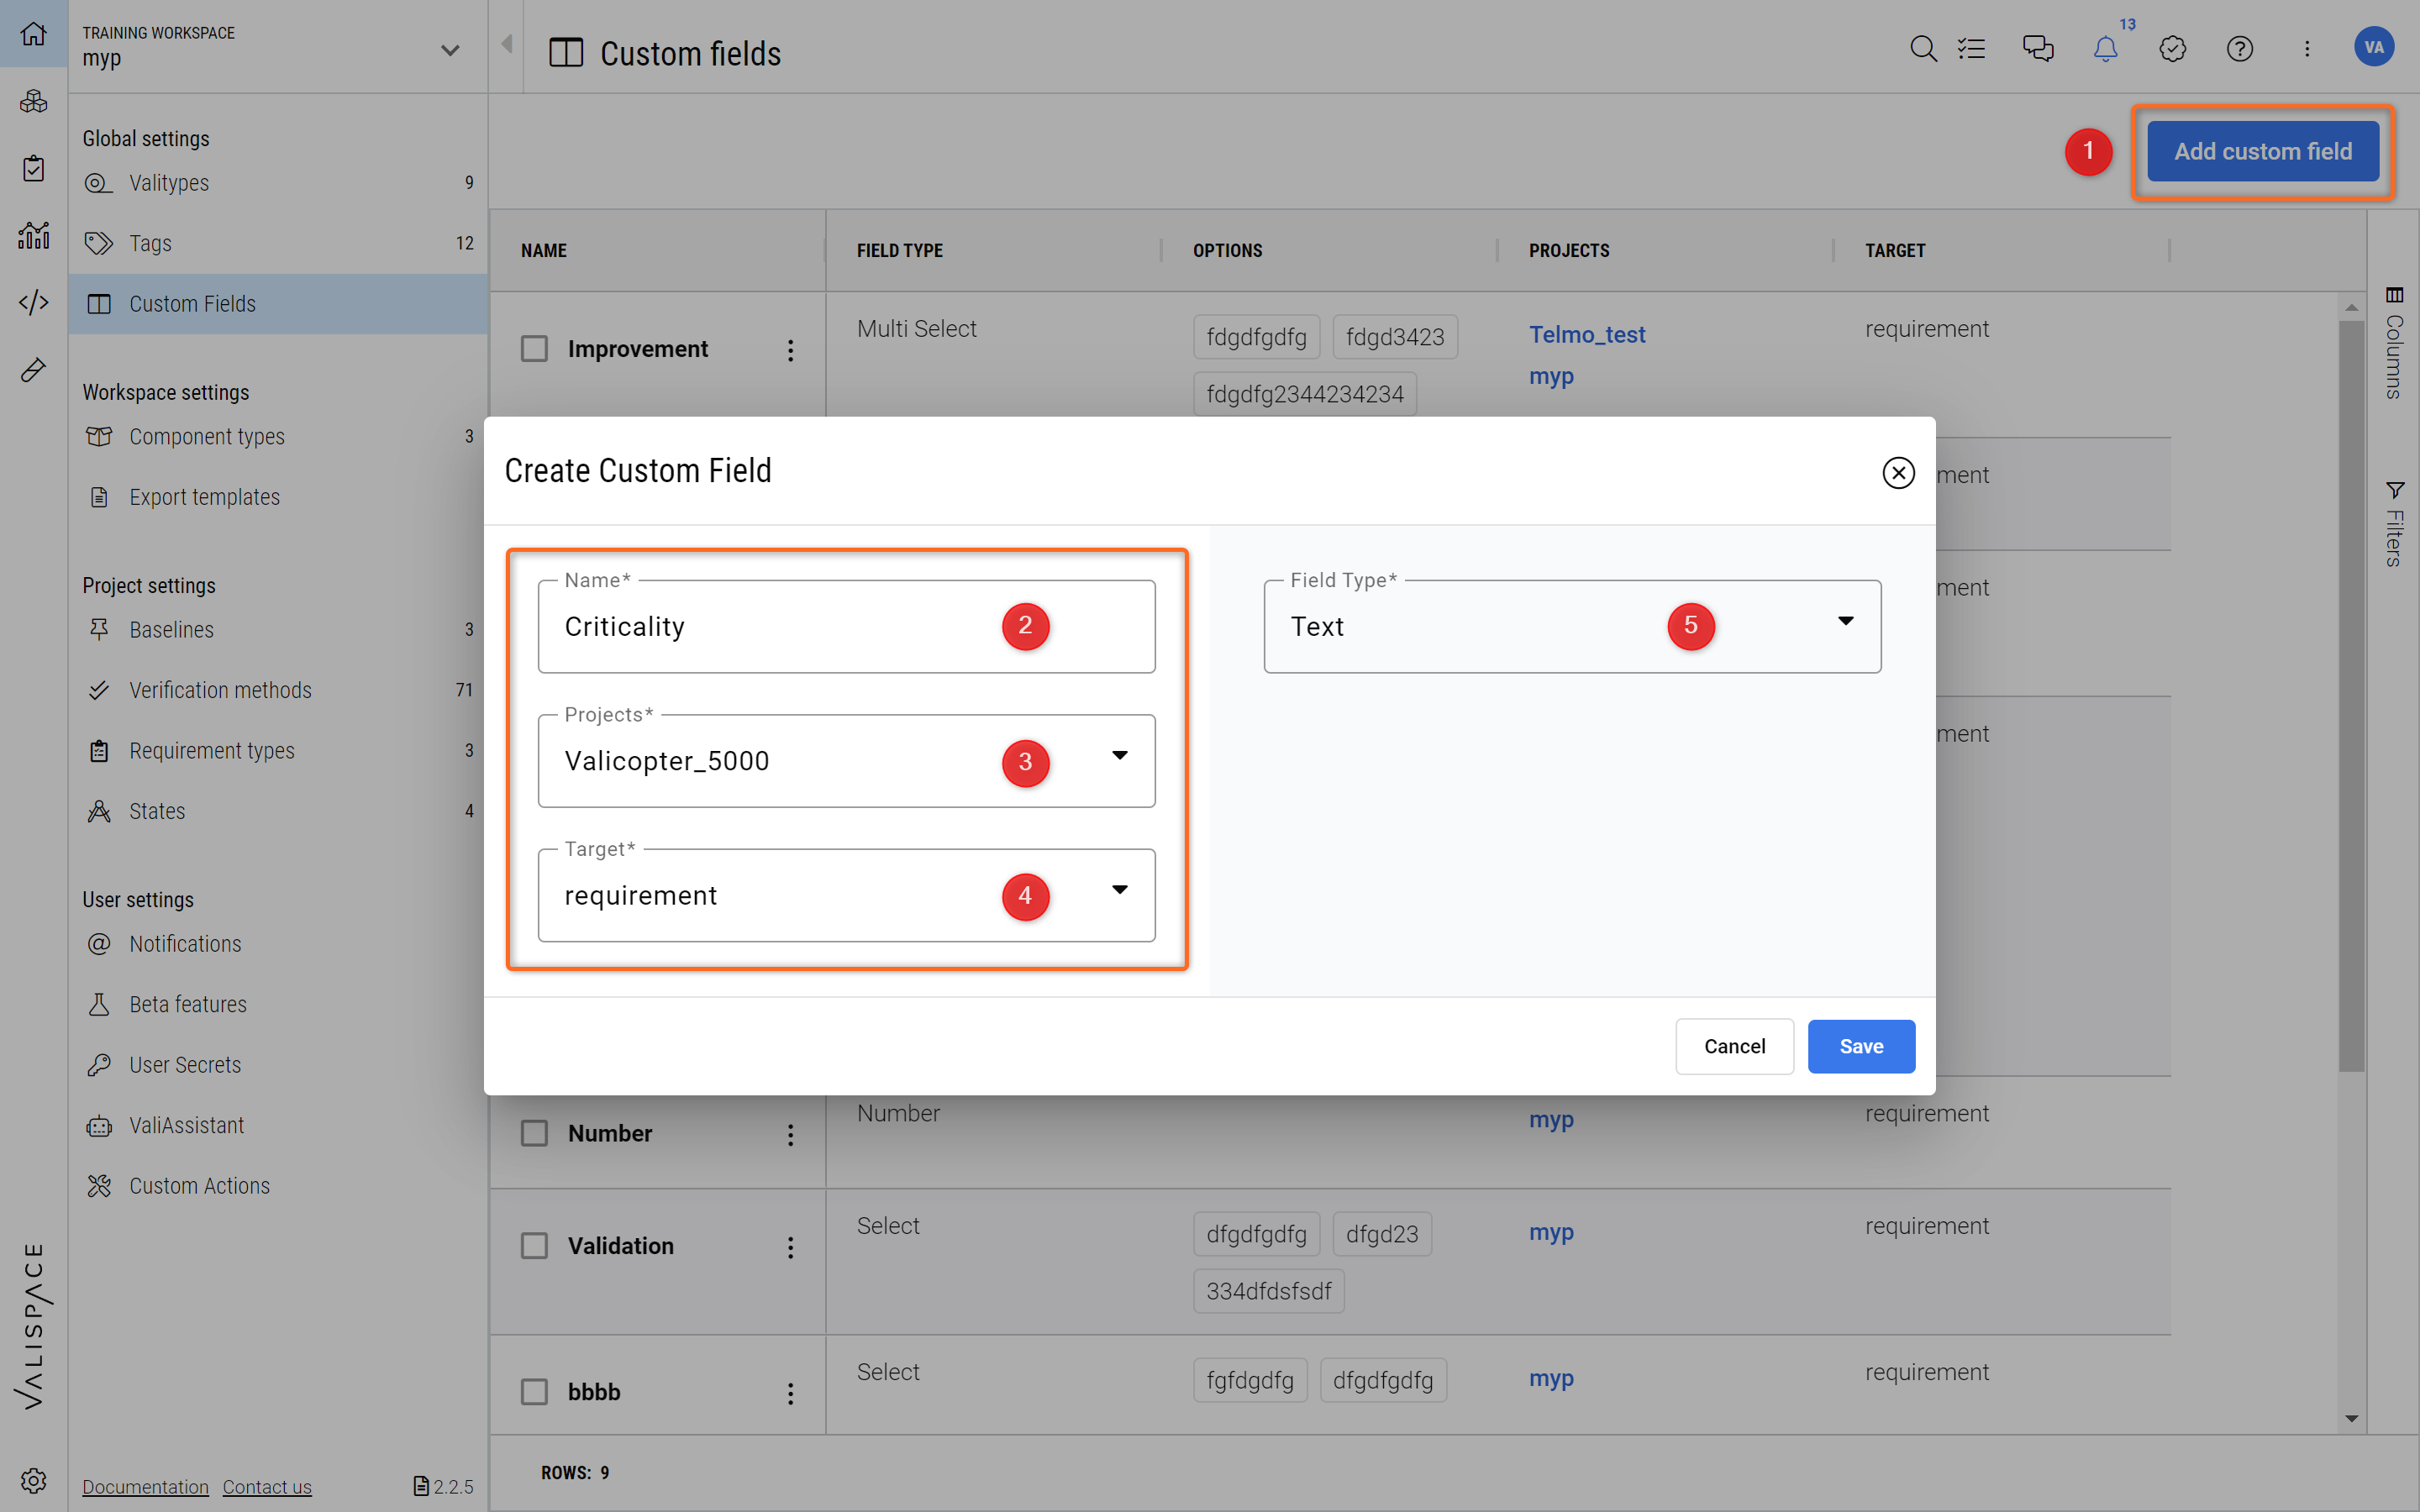
To add a new Custom Column please followe the steps described in Figure Adding New Custom Columns. Click on “Add Custom Field“ (1). This will open up a new window where you can define a “Name” for the column (2) the “Projects” where this column will appear (3) (you can add multiple projects), the target (4) and the type (5) as described above.
The target lets you add the Custom Column either to the Requirements or to the Test/Verification Module.
Adding New Custom Columns
When adding a Text, Date or Number Custom Column you only have to hit “Save“ and the column will be saved and displayed in the Requirements Module.
If you want to add a Selection Column (either Single Select or Multi Select) there is an additional step where you have to define the options that will appear in the dropdown. Once you select “Select“ or “Multi Select“ in the “Field Type“ (1) you will be promoted to input the options that will appear in the dropwdown (2).
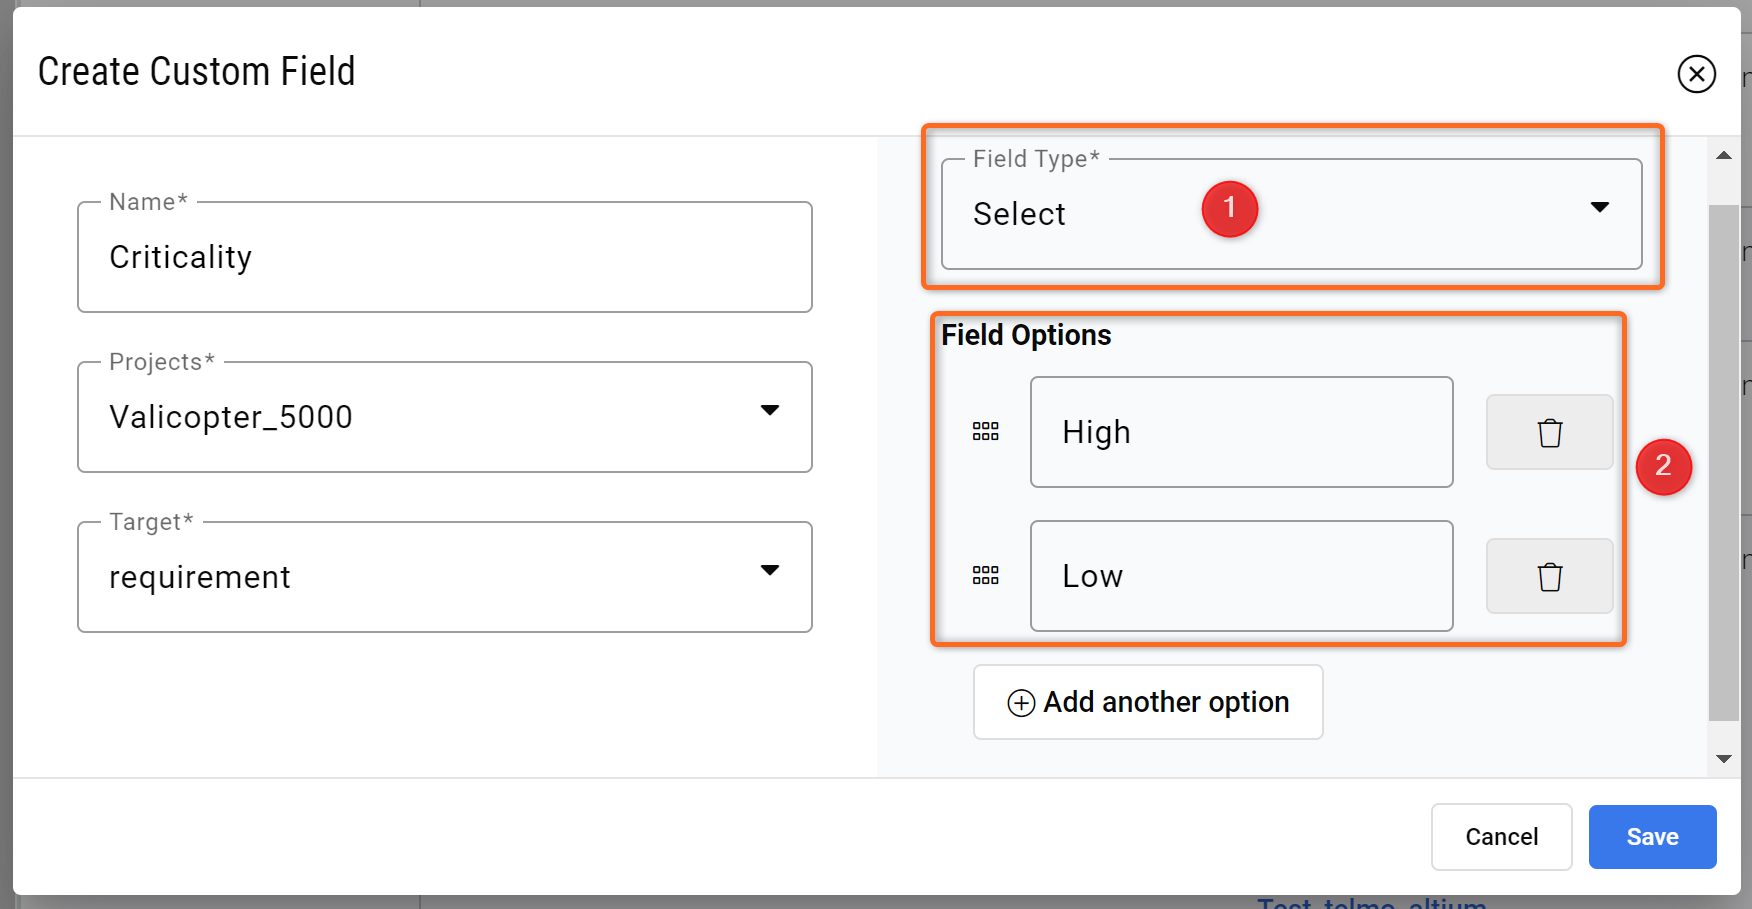
Adding Options to Selection Column - Various options and their order can be defined here.
After hitting “Save“ the selection column will be addedd to the Requirements Module and if you now double click in the cells the dropdown list will appear as you defined it.
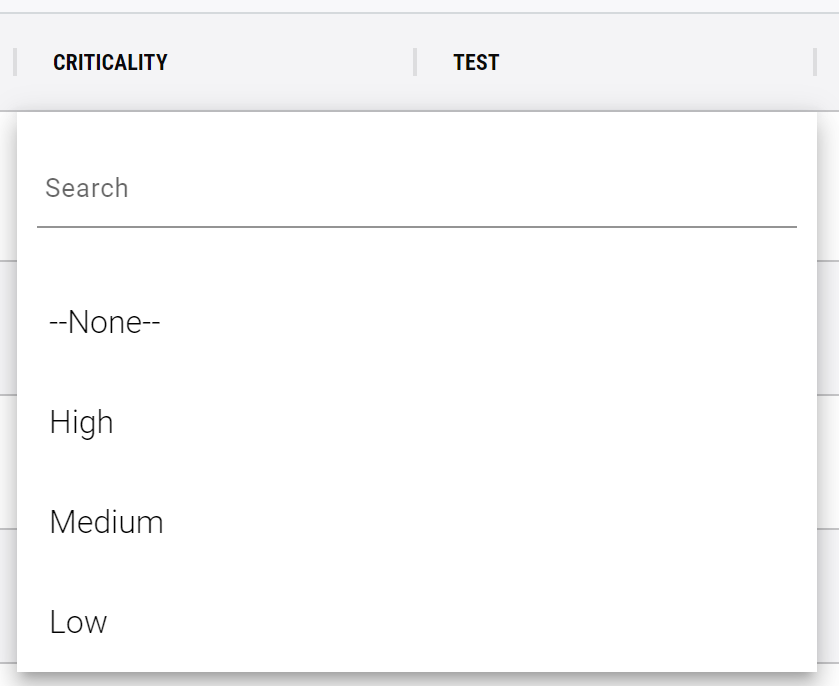
Options in a Selection Custom Column