SolidWorks Integration
The Requirements and Systems Portal's Solidworks Add-in (Beta version) lets users push CAD parameters and mass properties (such as mass, density, etc.) from the CAD product tree in Solidworks directly to any given Requirements and Systems Portal environment. This allows users to seamlessly synch their Requirements and Systems Portal System Design Model with up-to-date CAD model properties.
This is achieved by mapping Block Valis to CAD file properties, allowing users to update their Requirements and Systems Portal model with as little as a single mouse click.
Solidworks Add-in – Download file
To install the add-in, download the ZIP file, extract its contents to a temporary folder and run the setup.exe file with the Admin rights to ensure the proper registration of all required .dll files. The Add-in interface runs within Solidworks as a tab in the side task pane. When it is successfully installed the side pane as in Figure The Requirements and Systems Portal SW Add-in in the Task Pane should be available on starting Solidworks.
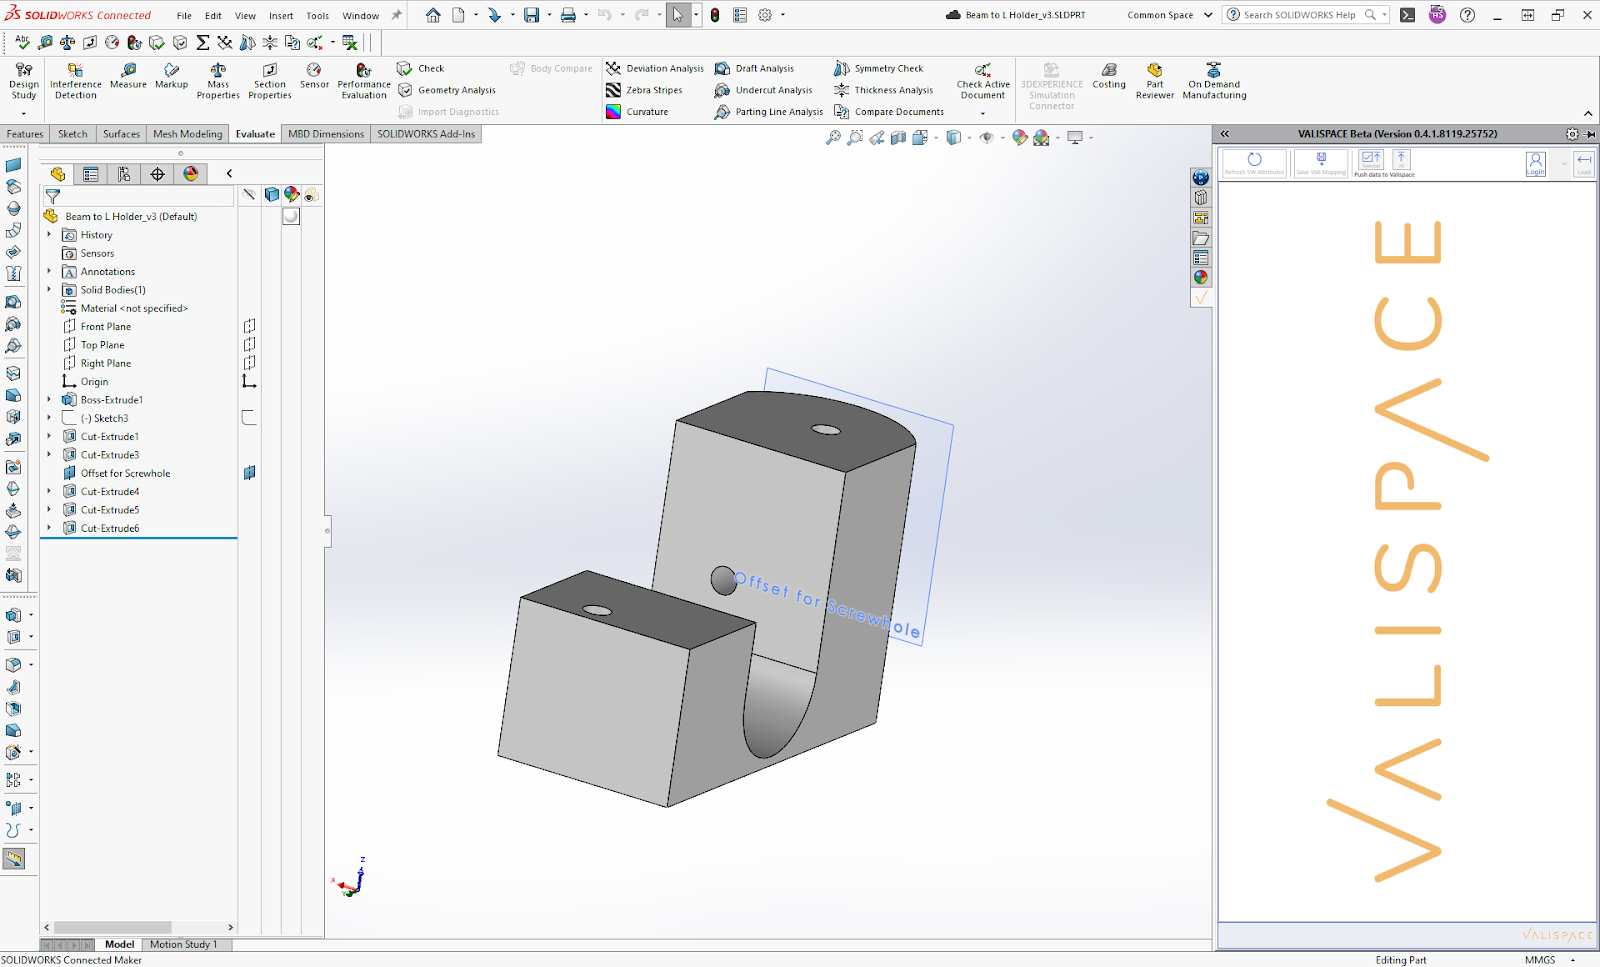
The Requirements and Systems Portal SW Add-in in the Task Pane
The ZIP file is provided in the link below:
The Solidworks add-in is a prototype release meant to gauge client interest. It is a beta version with limited functionality not suitable for a production environment. Altium will implement improvements and added functionalities in the future depending on client need and usage. If you have any particular use cases, suggestions, or improvements, please feel free to reach out under our Altium Support Page.
Logging in to the Requirements and Systems Portal through the Add-in
The user can connect to their Requirements and Systems Portal deployment through the Solidworks add-in through the login window which will be shown if the user is not already logged in, or by clicking the Login/Logout button which can be found in the top right corner of the add-in (Figure Deployment Login Window)

Deployment Login Window
Select “save login info” and the Add-in will automatically connect to the specified deployment the next time SolidWorks is executed. Login information is saved on the active Windows user's Appdata.
Step 1: Loading Project Valis
Once logged in you will be automatically taken to the project selection screen to load Valis from. You can return to this screen at any time by clicking “Load” button. Once the project is selected (ticked), you can click on the "Load Valis" button (Figure Loading Project Valis). Upon choosing the projects and clicking the load option, the plugin will access the project through the REST API and load all its Valis. Click the “Close” button.
Loading Project Valis
The most recent version of the Addin will display the number of loaded projects and Valis in the bottom part of the task pane.
If you create new Valis to map CAD properties to, just return to the loading screen and reload the project Valis.
Step 2: Refreshing SW attributes
The second step is to load the CAD model parameters and Mass properties by clicking the "Refresh SW attributes" button. This will load the CAD part or assembly’s product tree.
Once the "Refresh SW attributes" is clicked, the plugin gathers all the model information and populates the task pane’s product tree. For example, in Video Refreshing SW Attributes, we have demonstrated how you can load the geometric information of the drone model from the STP file to the plugin. Note that the loading time depends on the complexity of the model.
Refreshing SW Attributes
Step 3: Mapping Valis
When you load the SW attributes, the Block tree is imported with the attributes for each level of the assembly. With the plugin, the user can map the attributes to the Vali in the loaded deployment(s) by adding the id or Vali unique name (by typing or selecting from the drop-down menu), as in Video Adding Valis and Saving Mappings.
.gif?inst-v=fd4a0fd8-56d5-48dc-b578-82615c205aa4)
Adding Valis and Saving Mappings
After mapping the CAD attributes to specific Valis, click the "Save Vali Mapping" button to save changes. This is a hard save operation which will save not only the Vali mappings but any other change you have made to the CAD file. Mappings can be saved to both parts and assembly files.
Step 4: Pushing changes to the Requirements and Systems Portal
Once mappings are done, users can update their Requirements and Systems Portal model either by pushing all mapped attributes by clicking the “All” button or, as demonstrated in Video Pushing Select Mass Property Values, do a selective update of specific values by ticking their respective selection boxes and clicking the “Selected” button. The Requirements and Systems Portal will also update the attributes' specified units, so be sure that the mapped Valis either have no units or valid convertible units (compatible mass, length, inertia, etc.), otherwise, the push request will fail for all attributes.
Pushing Select Mass Property Values
Mappings are saved in both assembly or single-part files that you might be working on and sharing with colleagues. If refreshing the attributes shows an incomplete mapping (Vali names but no ids), it might mean that project Valis has not yet been loaded in the Add-in. After loading the project, Valis from the deployment Solidworks properties should be refreshed again.
Example Drone CAD model by MD. Samiul Ibn Safayet. You can check and download the model here on GrabCAD.