Project vs Workspace
Before getting to know the different features within each module of the Requirements and Systems Portal, it is good to understand the differences between projects and workspaces.
Workspaces are isolated instances that can contain numerous projects. Projects are where the user or the group performs the system and requirement definition. Within workspaces, projects are created. The Valis (properties) inside the projects can be referred to or used in different projects that are within the same Workspace. However, two projects from two different workspaces cannot communicate or refer to each other.

Projects and Workspaces - Accessing Projects and Workspaces in the Requirements and Systems Portal.
The image above (Figure Projects and Workspaces) shows the structure of how workspaces and projects are accessed. In this example, the user is currently in the “Default Workspace” in the Project “Valifan“ (1). Below that, you have the menu to create a new project (2) and also you have the list of other projects that are available within the Default Workspace.
To change to the other workspaces, you can select the “More Workspaces” (3).
Things to know
When a Requirements and Systems Portal instance is created, two workspaces are created by default. One is the “Default Workspace” where the whole team can create their mainstream projects and collaborate. The other one is the “Training Workspace” which contains projects like “Satellite_Valisat” or the “Valicopter_5000”, which users can refer to as example projects.
Also, the training workspace is the playground for new users as they can create new projects, test, and learn the features of the Requirements and Systems Portal before working in their main projects.
Creating a new Project
To create a new project, click on the project name, and in the dropdown click on “+ Create new project” (see Figure Create a new Project).
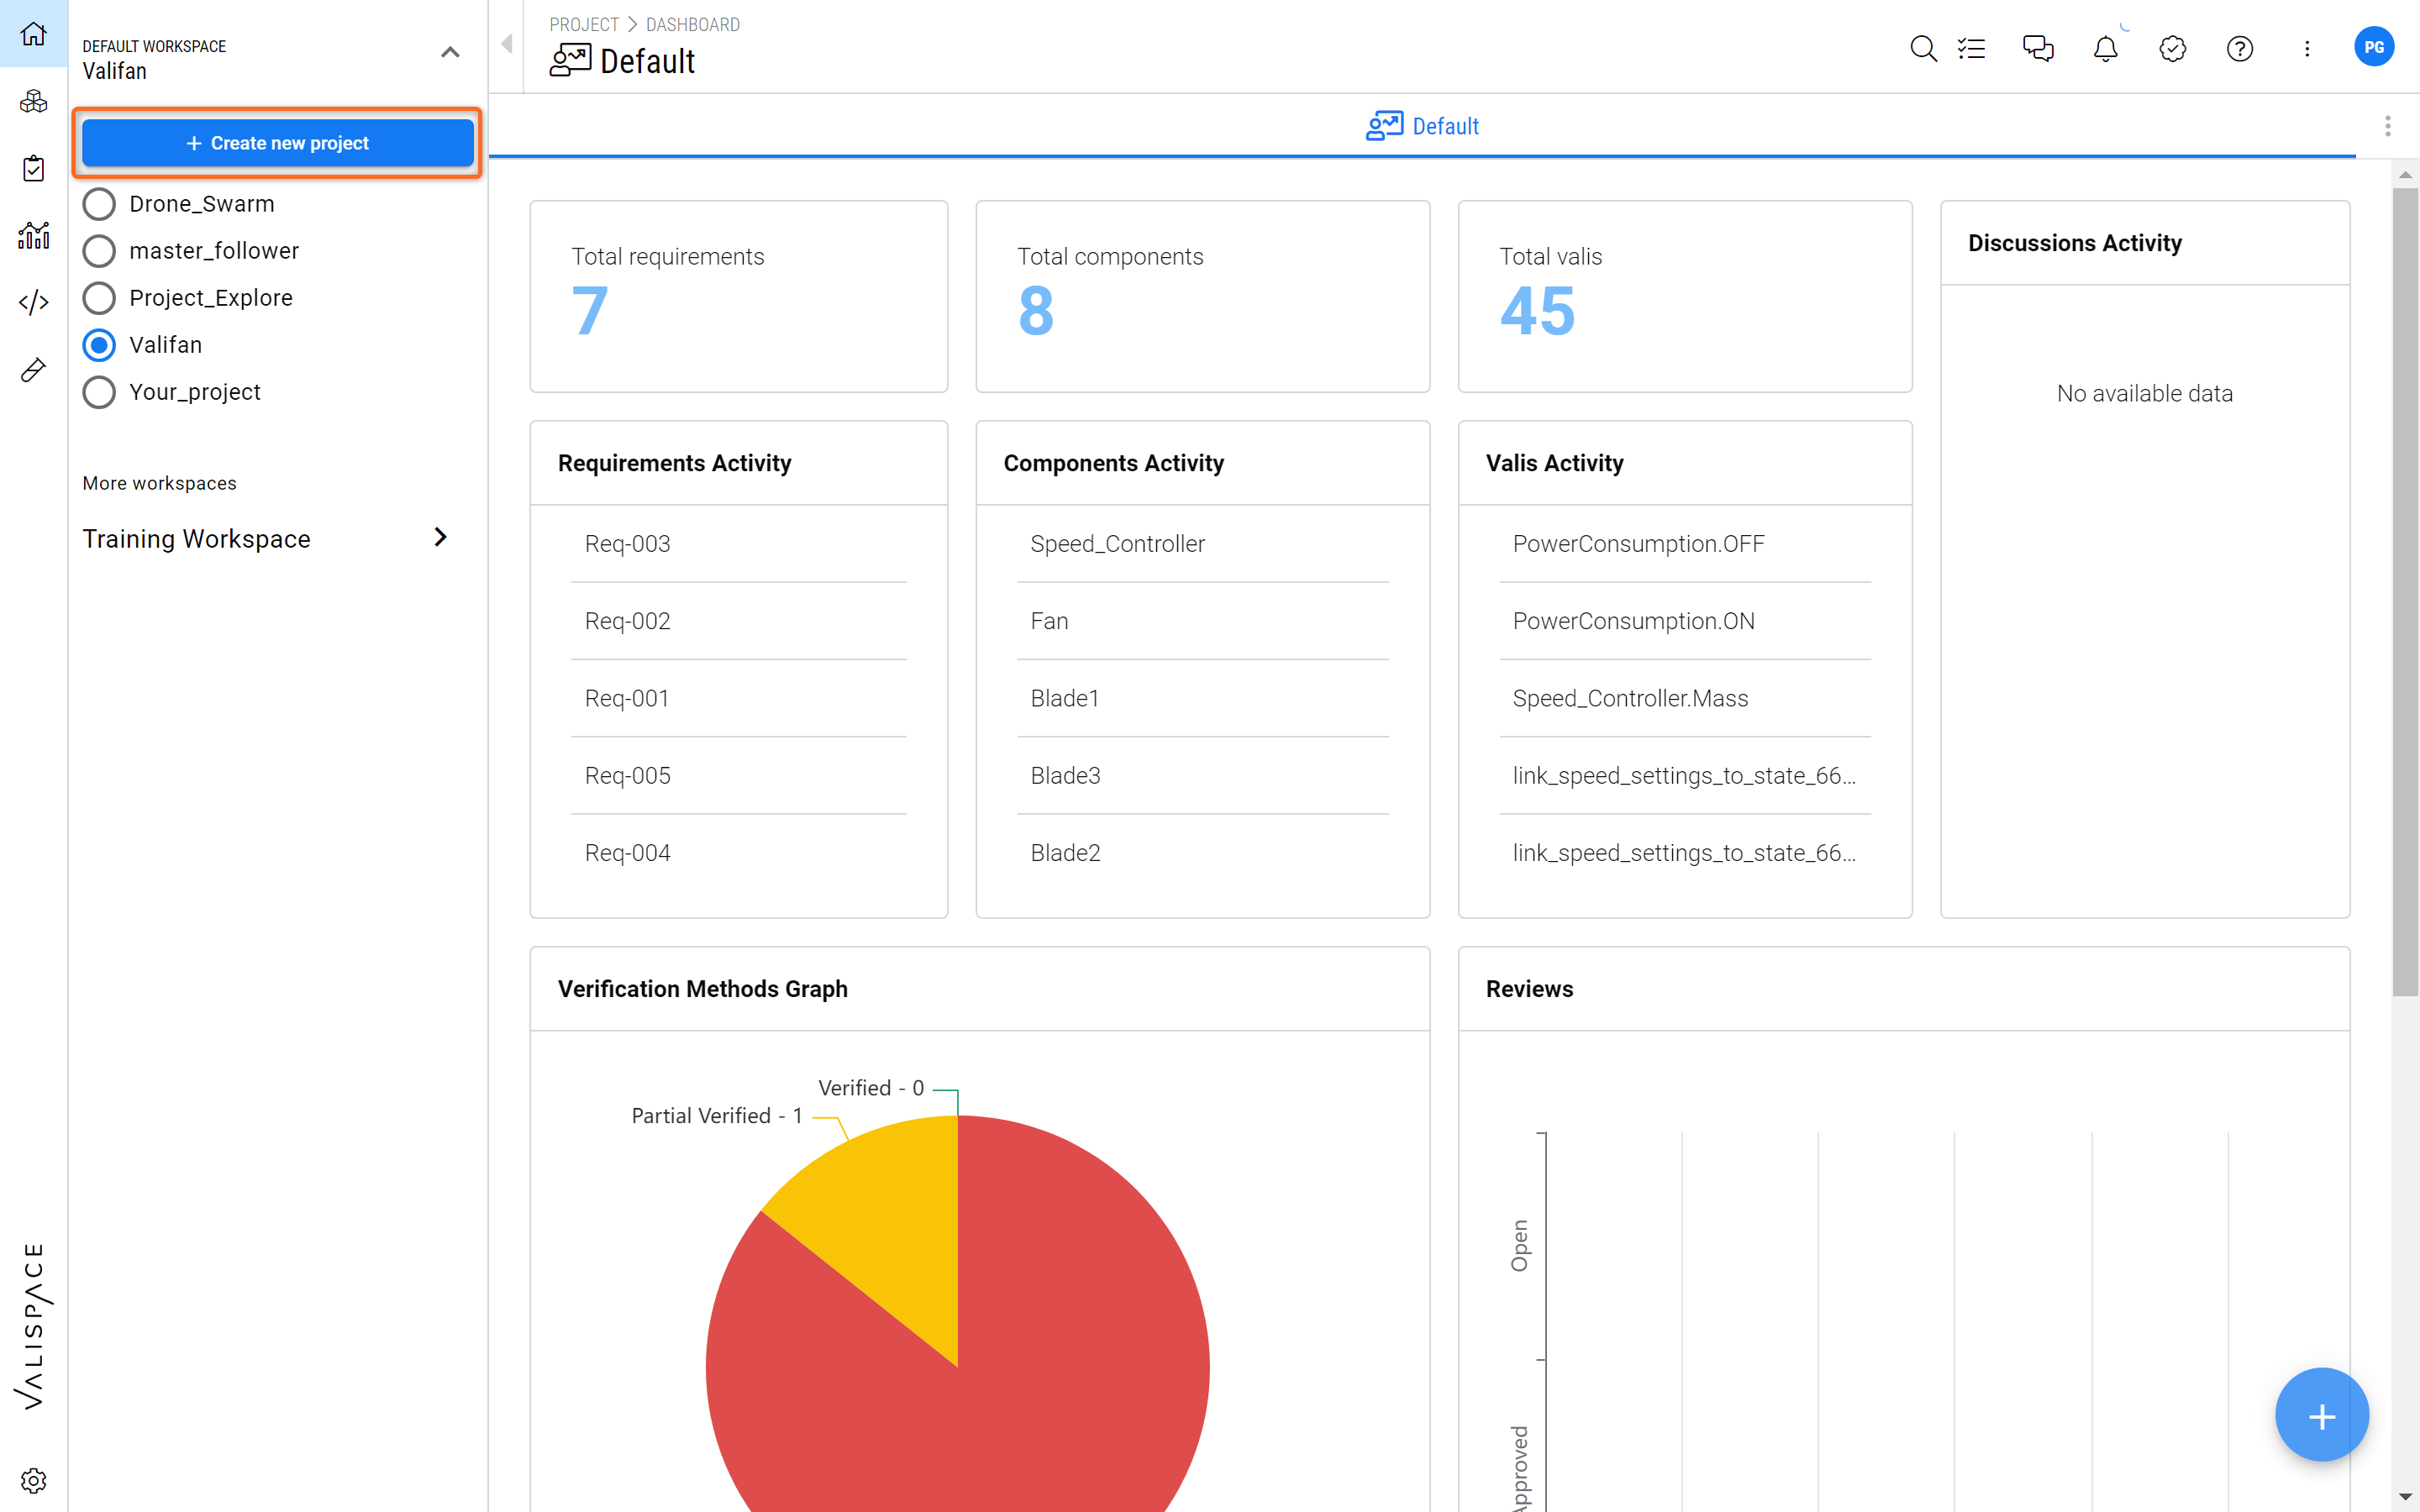
Creating a new Project - By clicking on the “+ Create new project“ the user will be taken into a wizard to create their new project.
This will open up a new window with a wizard to create a new project, as shown in Figure Project Wizard.

Project Wizard - The user can select from 3 options to create a new project.
From here, the user can choose to create an empty project (1), create a populated project (with Requirements and a System Design structure) from a project description (through AI) (2) or import pre-existing data into a new project (3).
Changing the name of the Project
In case you would like to change the name of the project you can do so by going to the Project Module (1) and within the side menu click on “About” (2). On the right side, a new information tab pops up. There you can edit the project name (3).
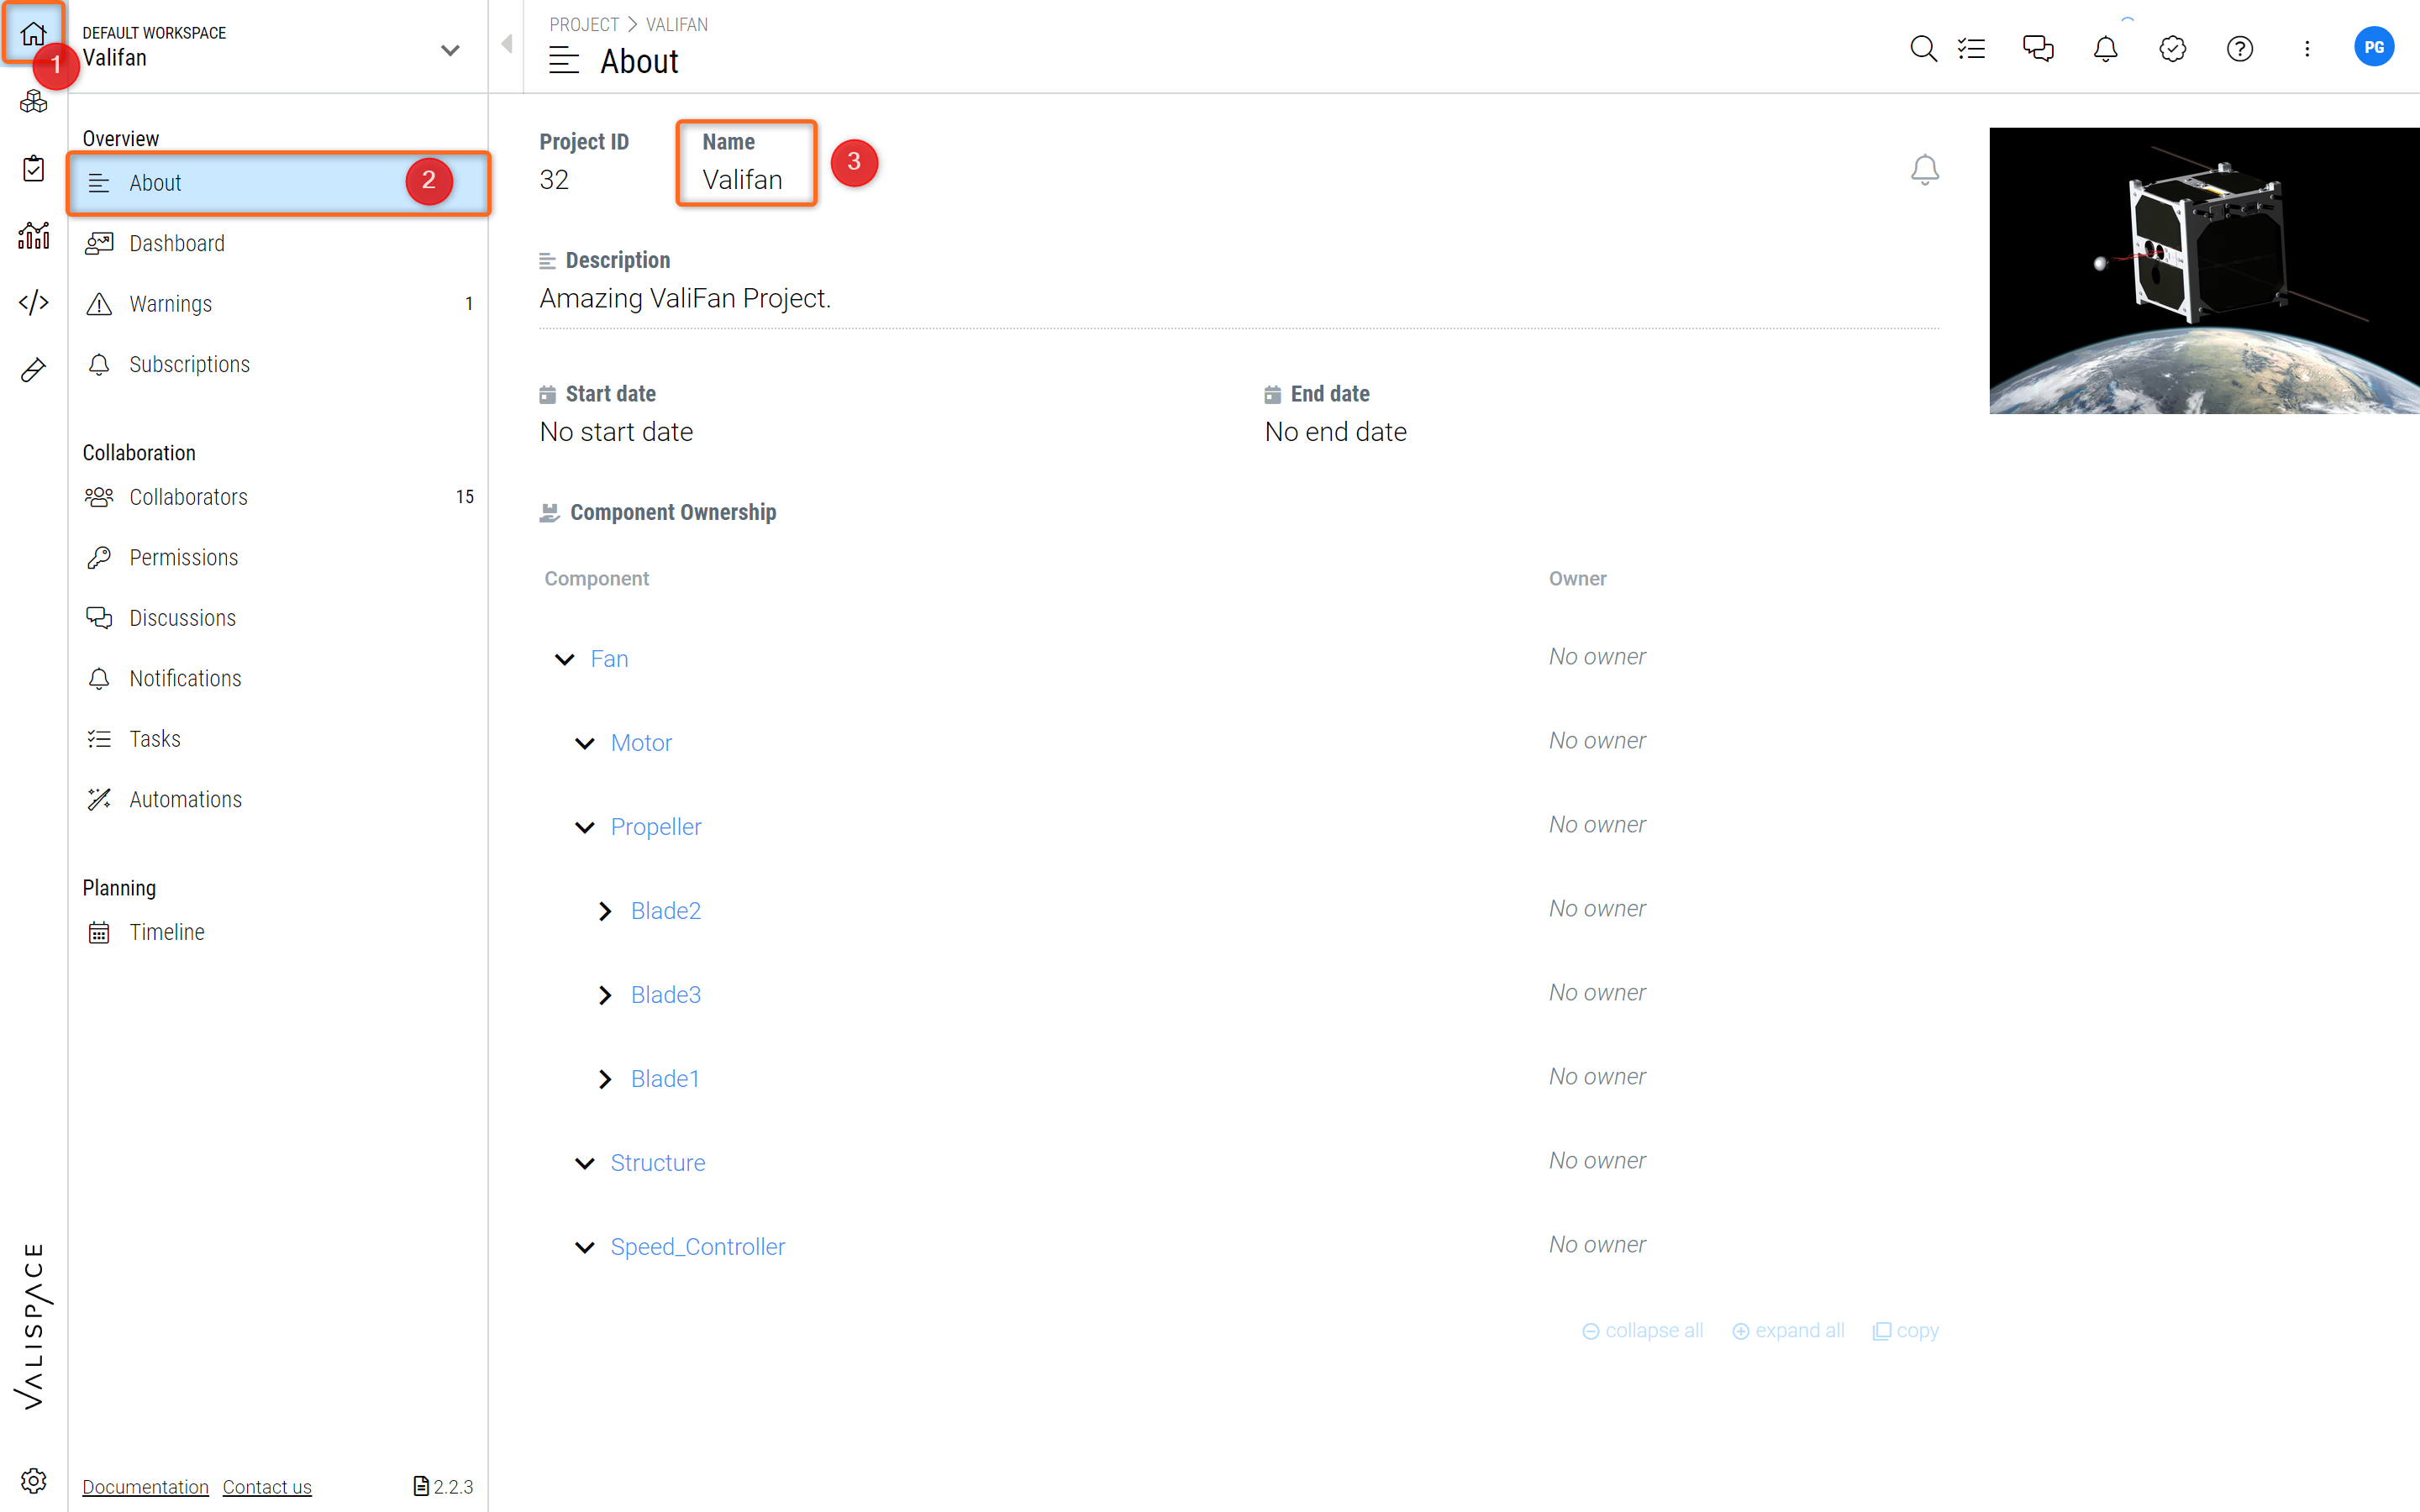
Project Name - Changing the name of the project in the About page of the Project Module
A few things to notice
There are a few options, such as “Deleting Projects” or “Moving Projects” from one workspace to another or creating more workspaces, that can be performed in the backend. These can be performed by the admins of your deployment or Altium’s support team on the Altium Support Page.
Things to remember before requesting to delete the project
The user has to delete and unlink all the references with other projects. The user should empty all the modules. Then only the admins can delete the project. Deleting the project is explained in the Admin Features.
Things to remember before requesting to move the project from one workspace to another
The project should not have any links with other projects. That means the Valis inside the project shouldn’t be used in other projects of the same workspace.