Valify Requirements
The Valify feature analyzes the requirements text in search for quantifiable properties to convert them to Valis. This aims to facilitate the parameterization of requirements by automatically creating new Valis that can be then used for multiple purposes, reducing the effort and error probability associated with this manual parameterization work.
Here’s how it looks like:
Valify - Tranform your text-based values and units into Measures of Performance (Parameters) that you can reference throughout the Requirements and Systems Portal.
Access
Currently, the Valify process can be initiated from 5 different locations, while at the Requirements Module:
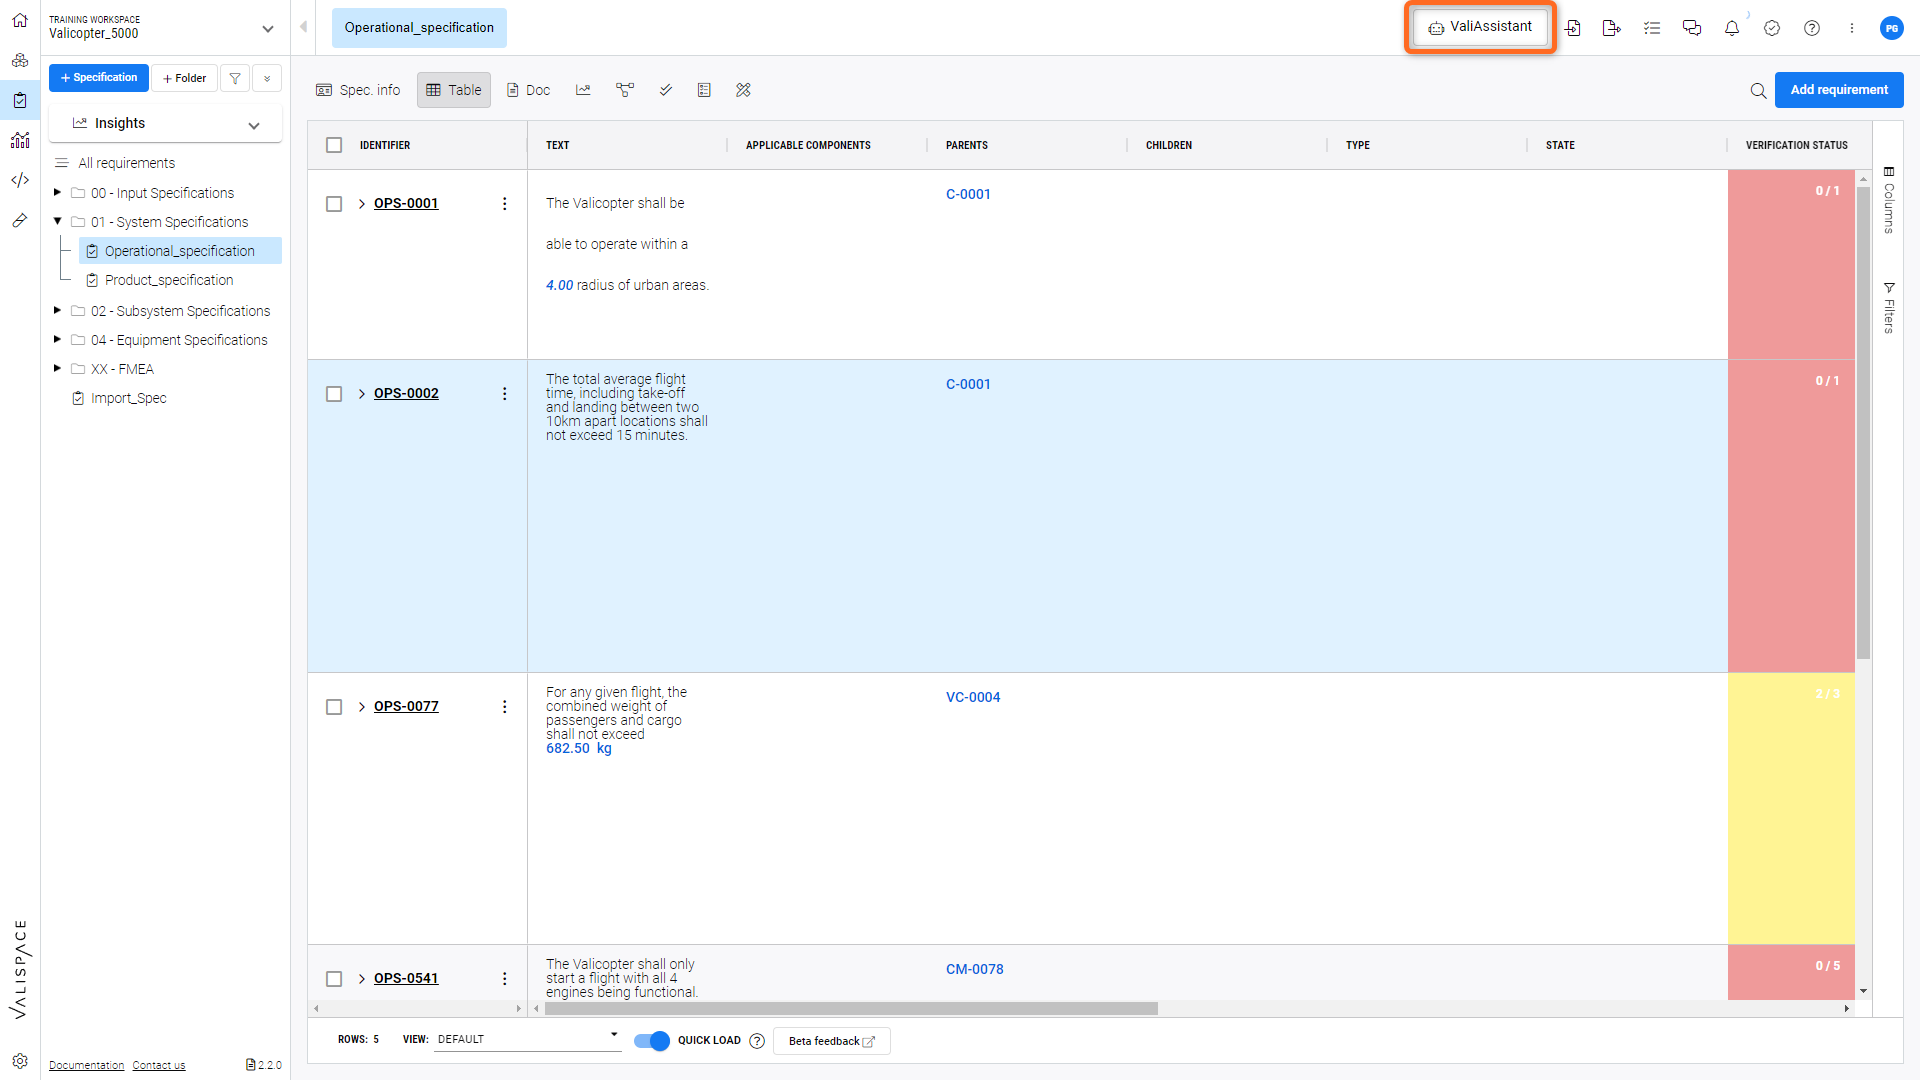
ValiAssistant action button at the top bar
ValiAssistant action button at each line of the requirements table
ValiAssistant action button in the connections graph
In the last step of the import wizard
Create New Requirement
Location 1: ValiAssistant action button at the top bar - Brings you to the ValiAssistant menu
If Valify is started from the top bar button, the currently selected Specification or Section will be processed.
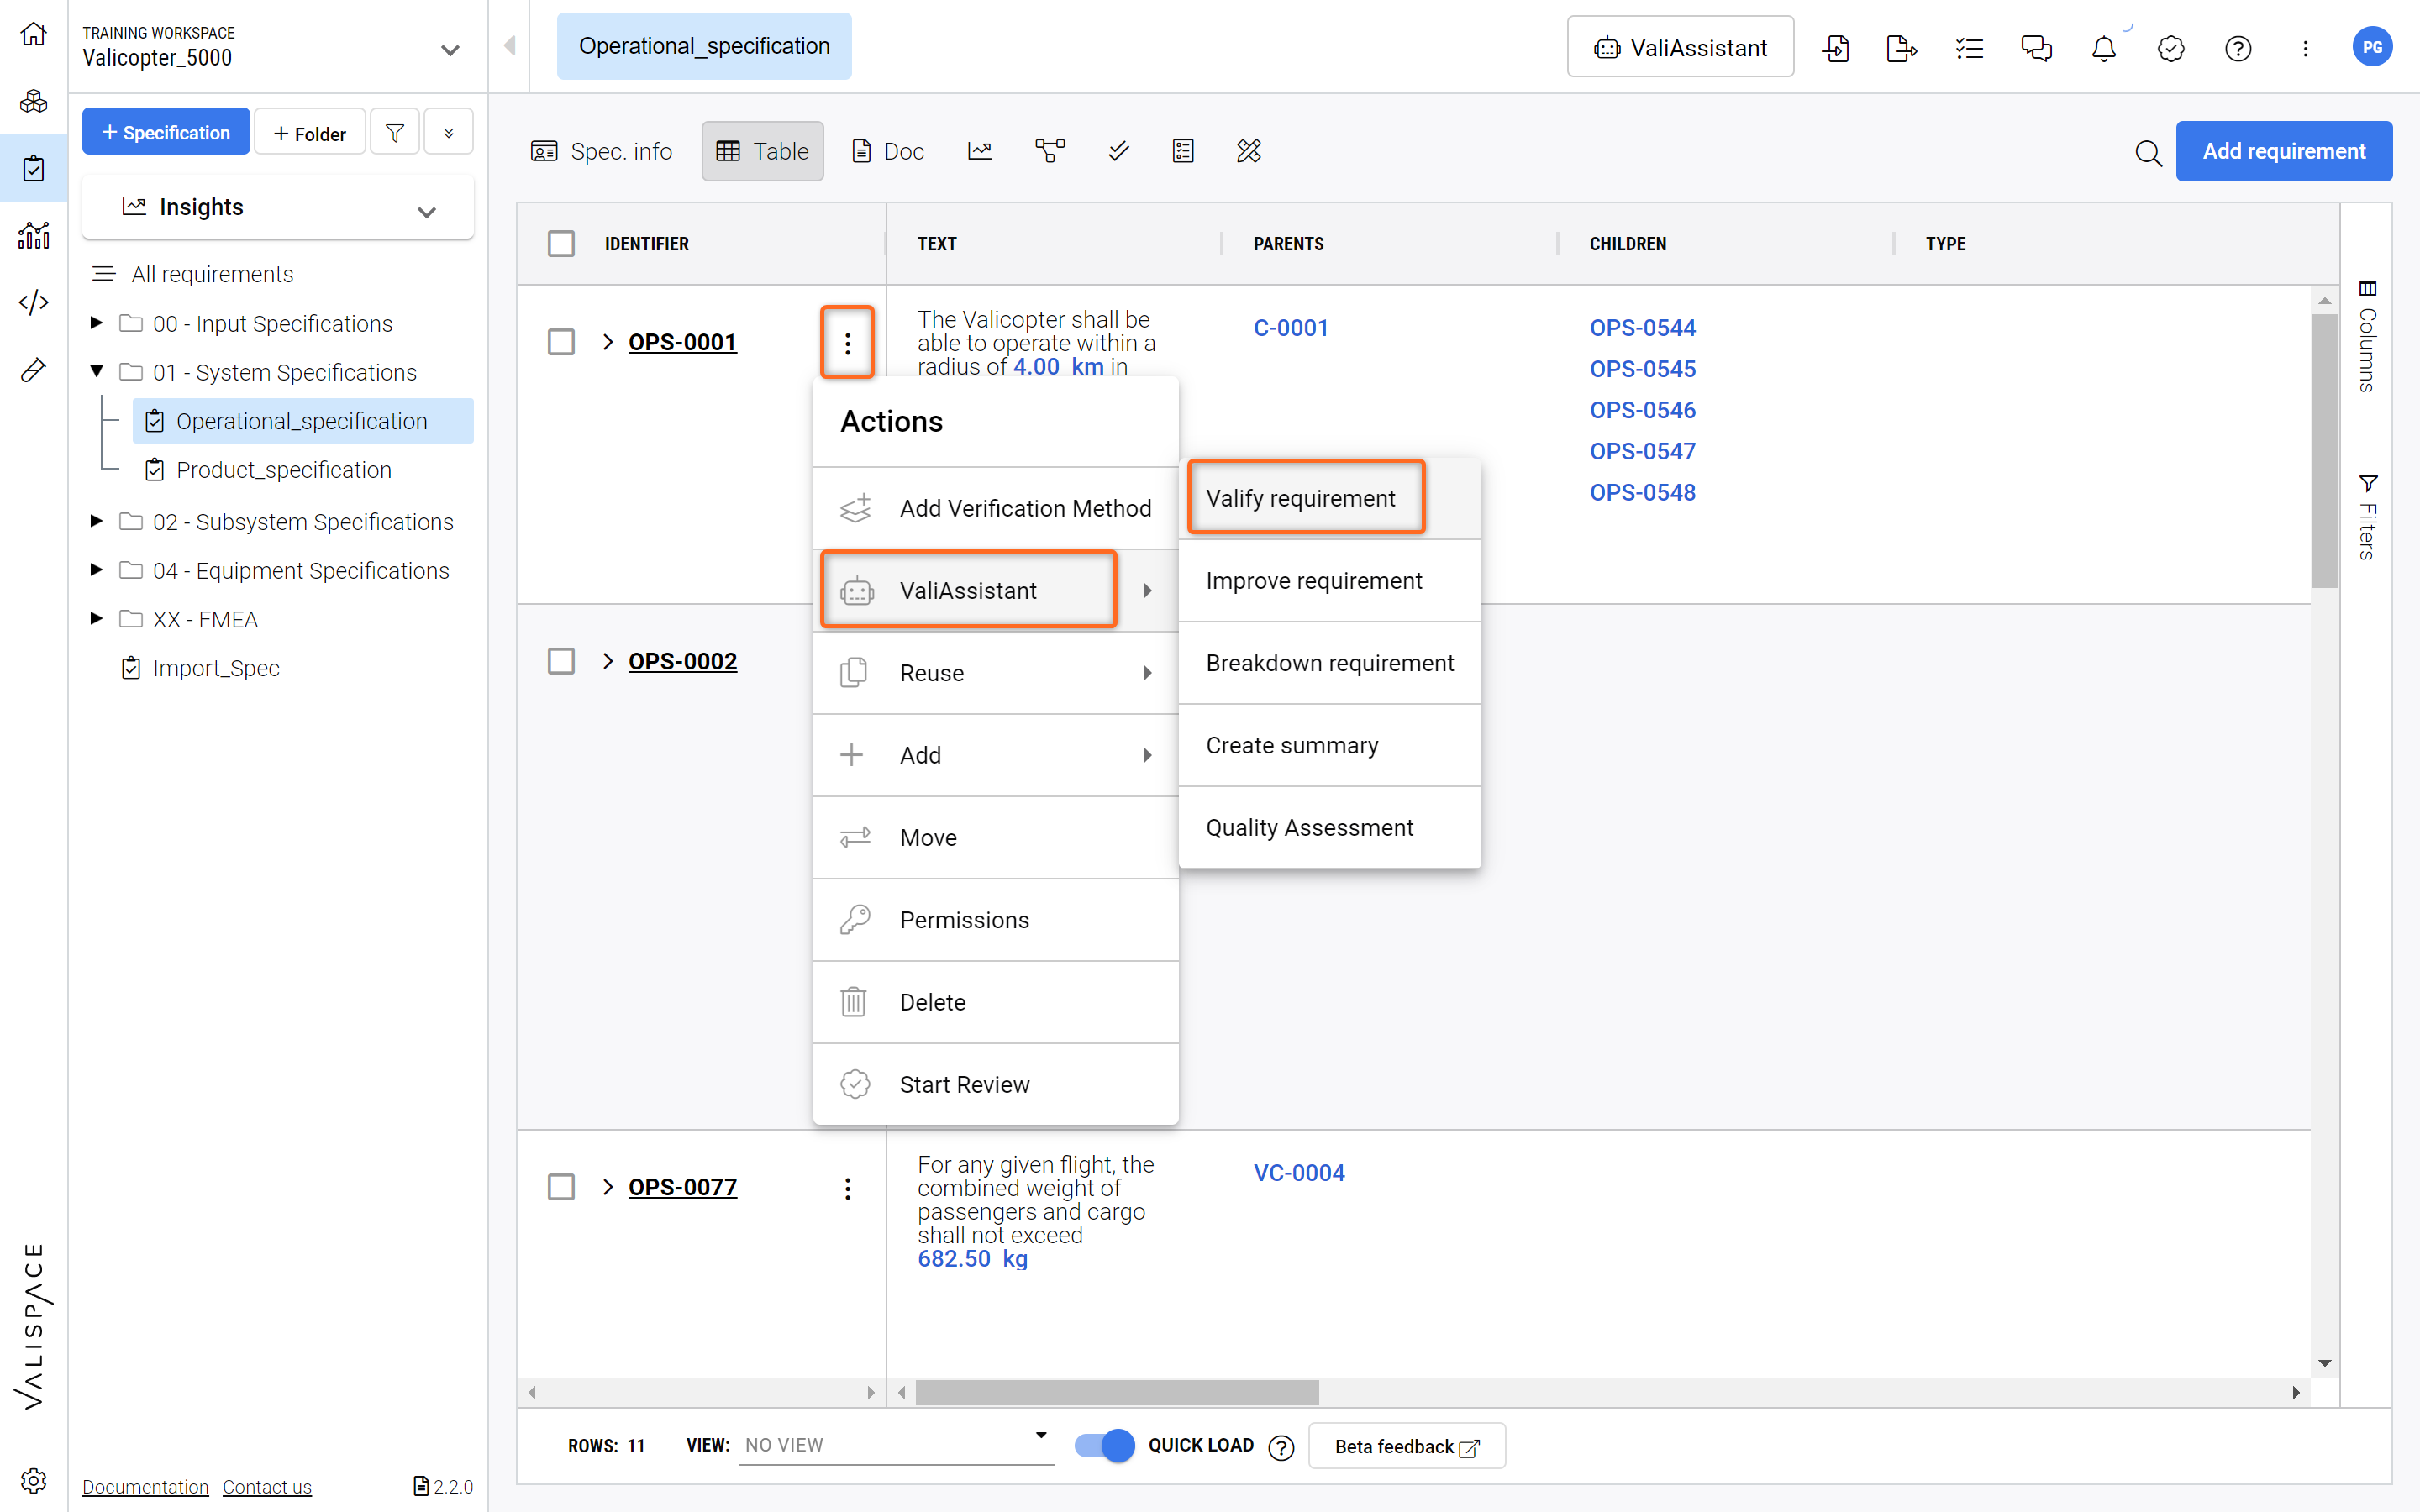
Location 2: ValiAssistant quick action button in the Actions column of any requirement found in the requirements table - Shortcut drop down to ValiAssistant options
If Improve Requirements is started from requirements table quick action button, the currently selected requirement(s) will be processed.
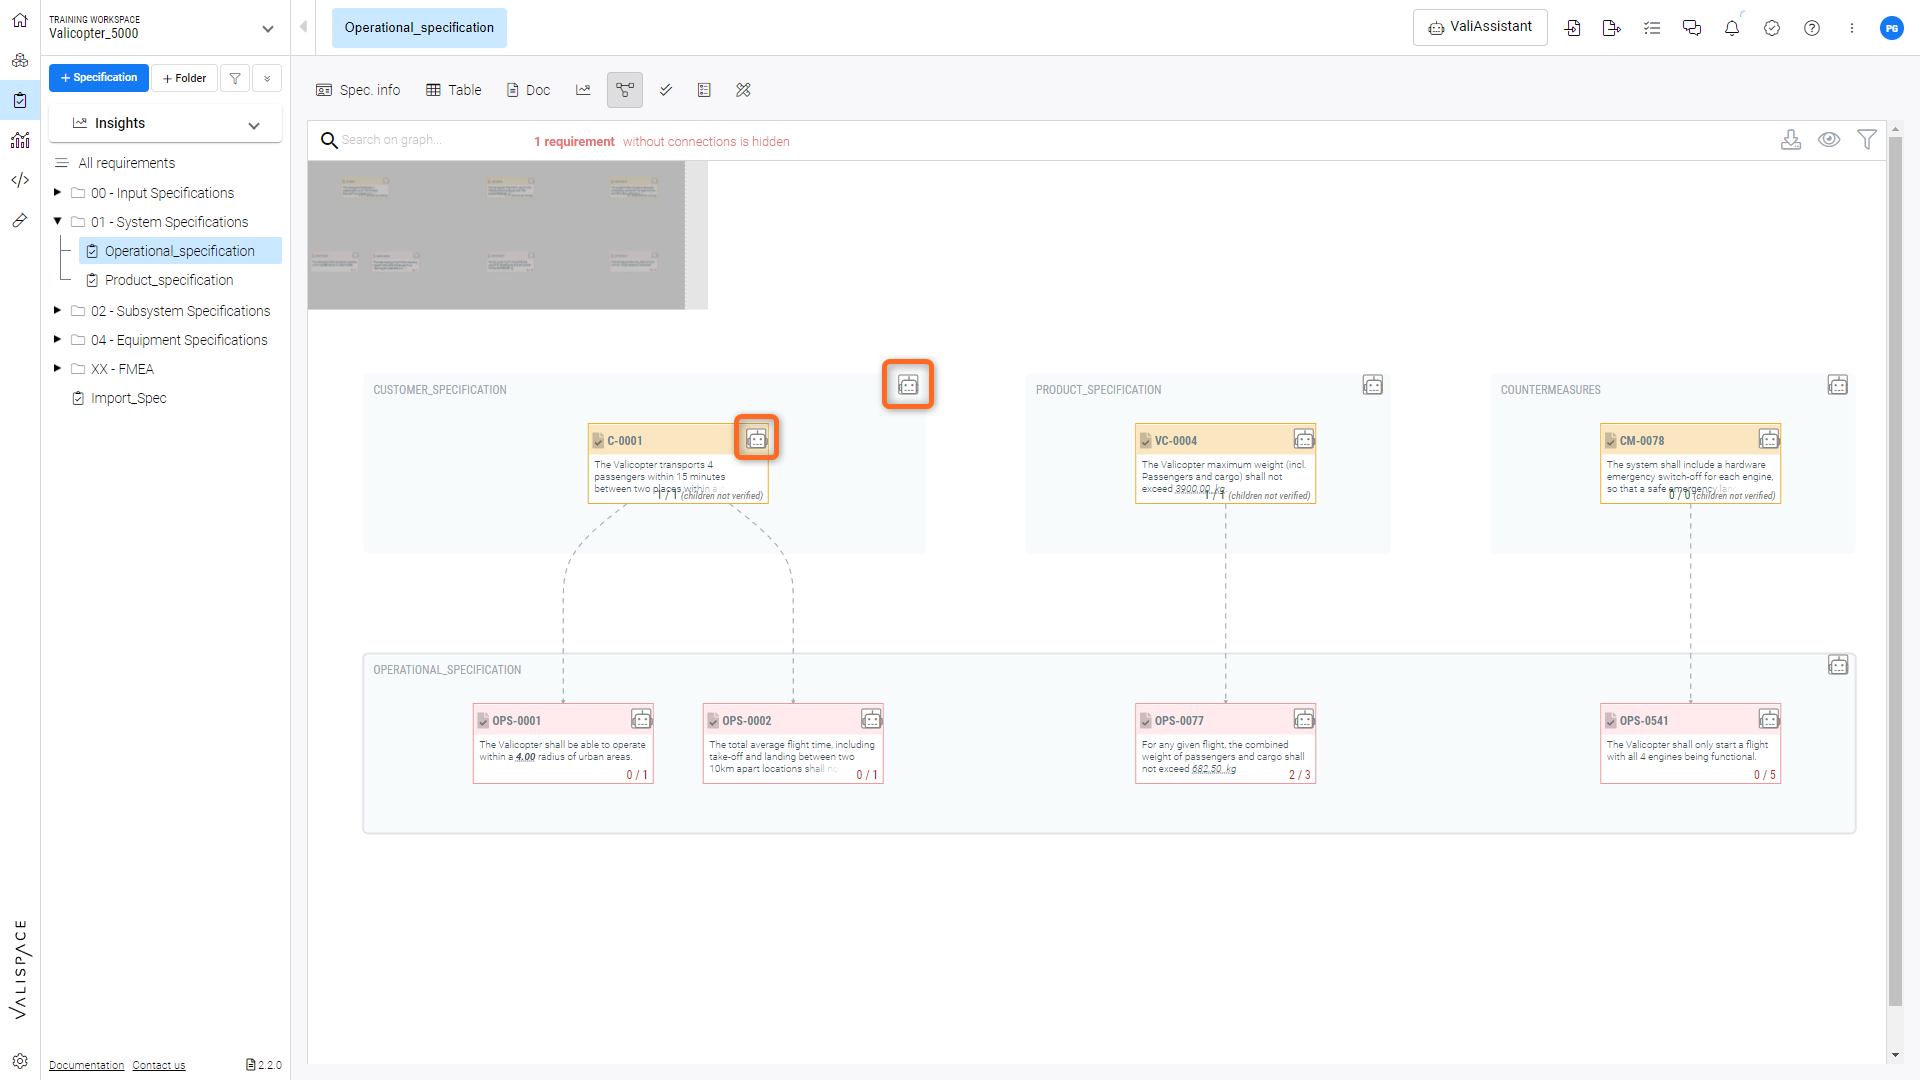
Location 3: ValiAssistant quick action button in the connections graph - Shortcut drop down to ValiAssistant options
If Valify is started from the connections graph quick action button, the currently selected requirement(s) will be processed.
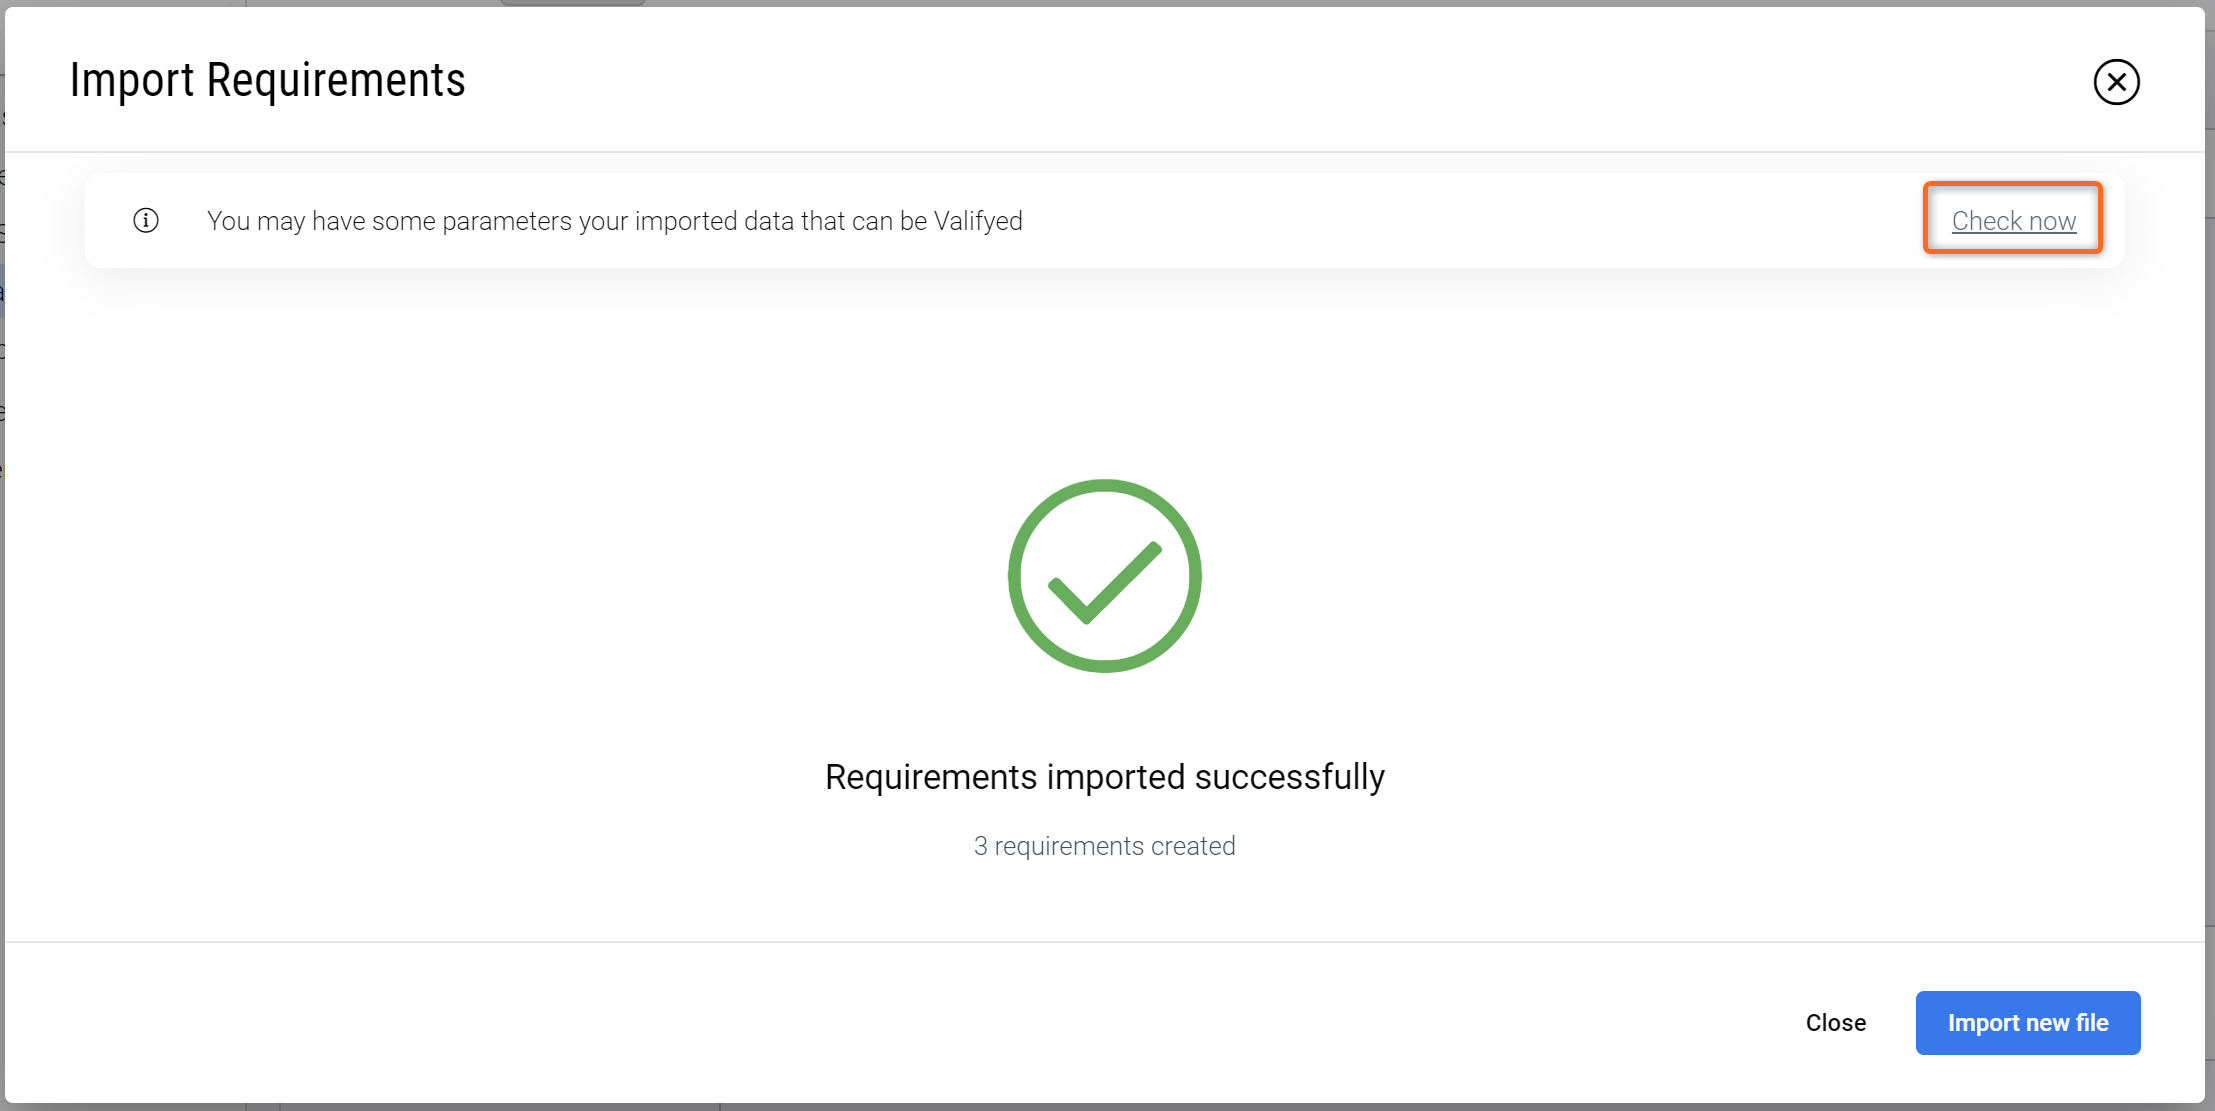
Location 4: Import Wizard Completion Page - The last step in the requirement import process.
If Valify is started from import wizard, all the imported requirements will be processed
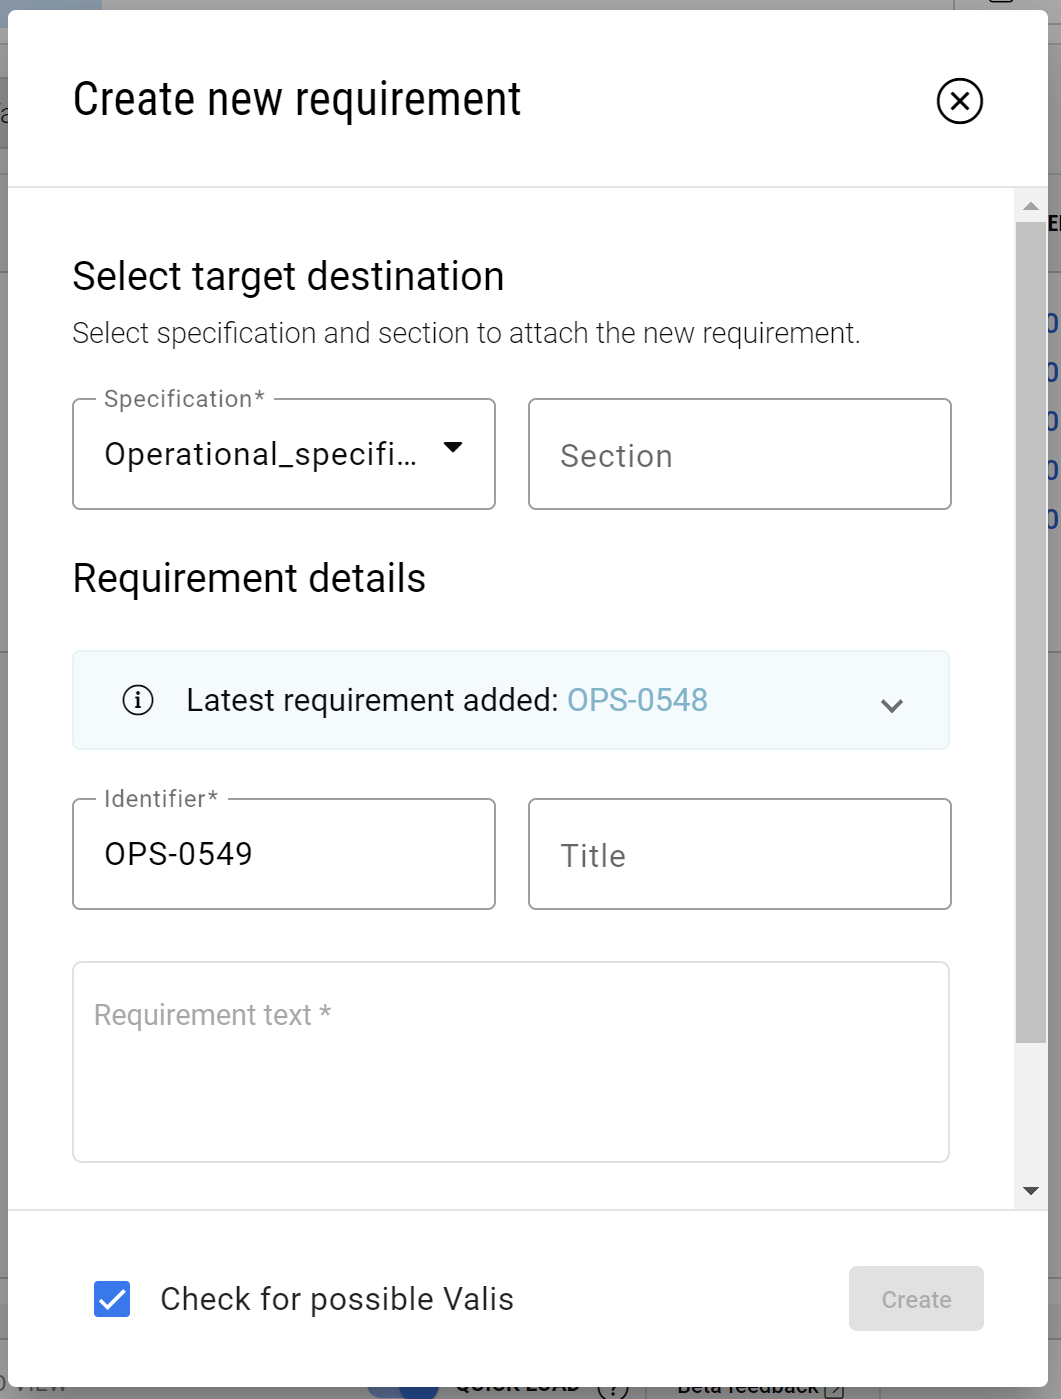
Location 5: Create New Requirement pop-up - a check box at the bottom of the pop up
If Valify is started from the create requirement pop up, the requirement that you are currently creating will be processed
Steps to Valify
Valify is composed by three main stages: “Pre-loading”, “Loading & Info” and “Valifying”. These stages are detailed bellow.
1 - Pre-loading
After triggering the Valify, the user is informed of exactly how many requirements will be checked by the Valify process and decide if they want to continue.
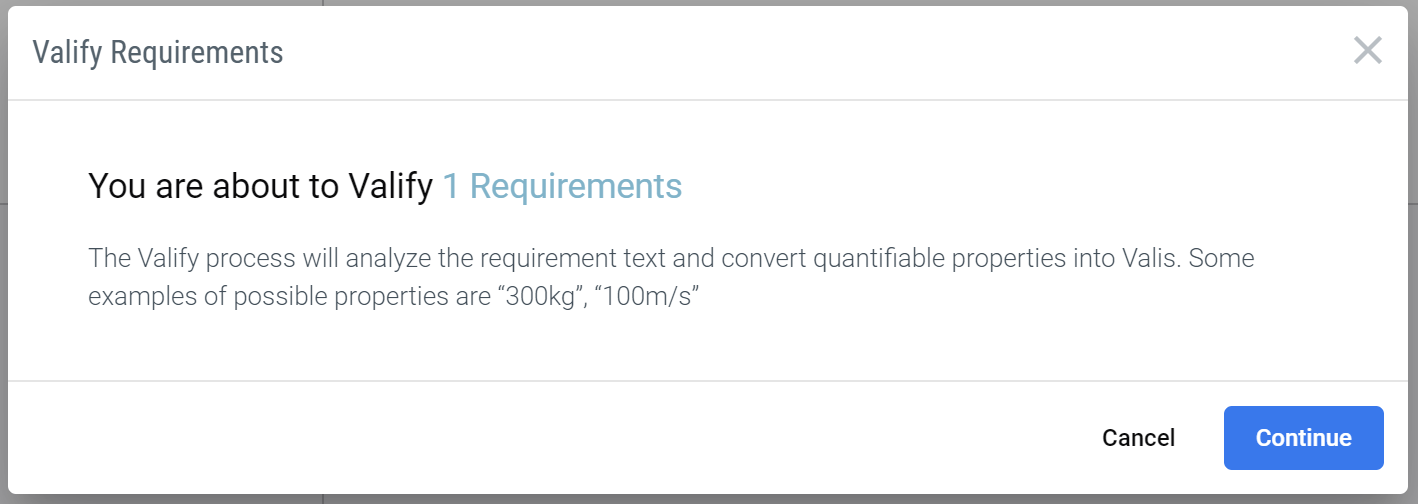
Pre-loading - Information on how many Requirements are going to be Valified
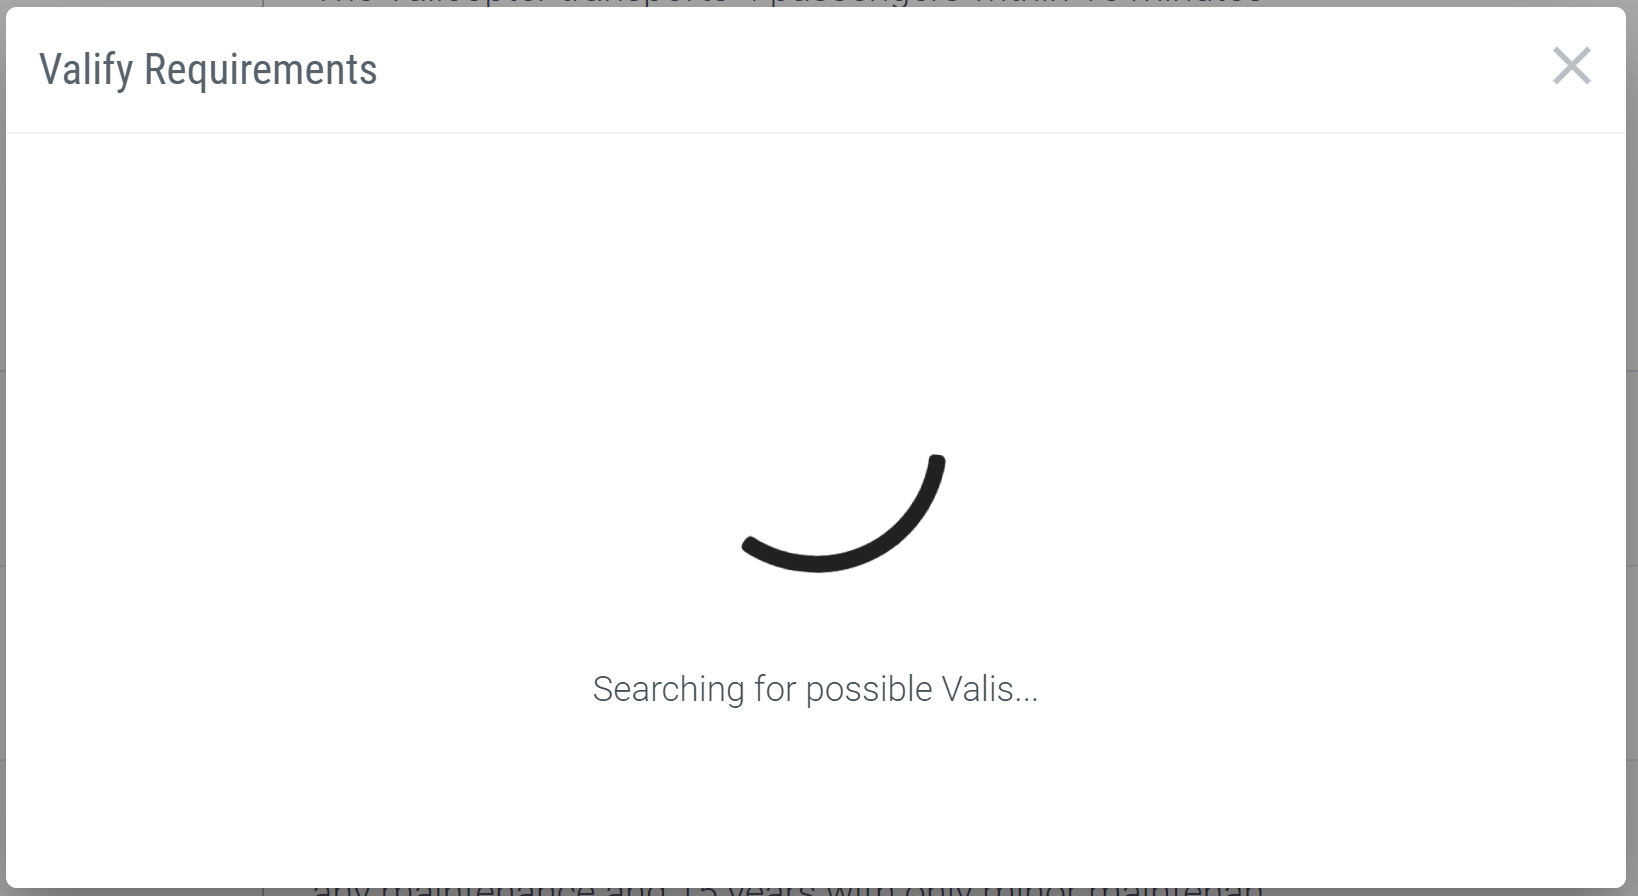
2 - Loading & Info
After confirmation to Valify, the user is presented with a loading screen while the Requirements and Systems Portal searches the selected requirements for possible Valis.
If no possible Valis are found a warning message will inform the user of that result and Valify process will end.
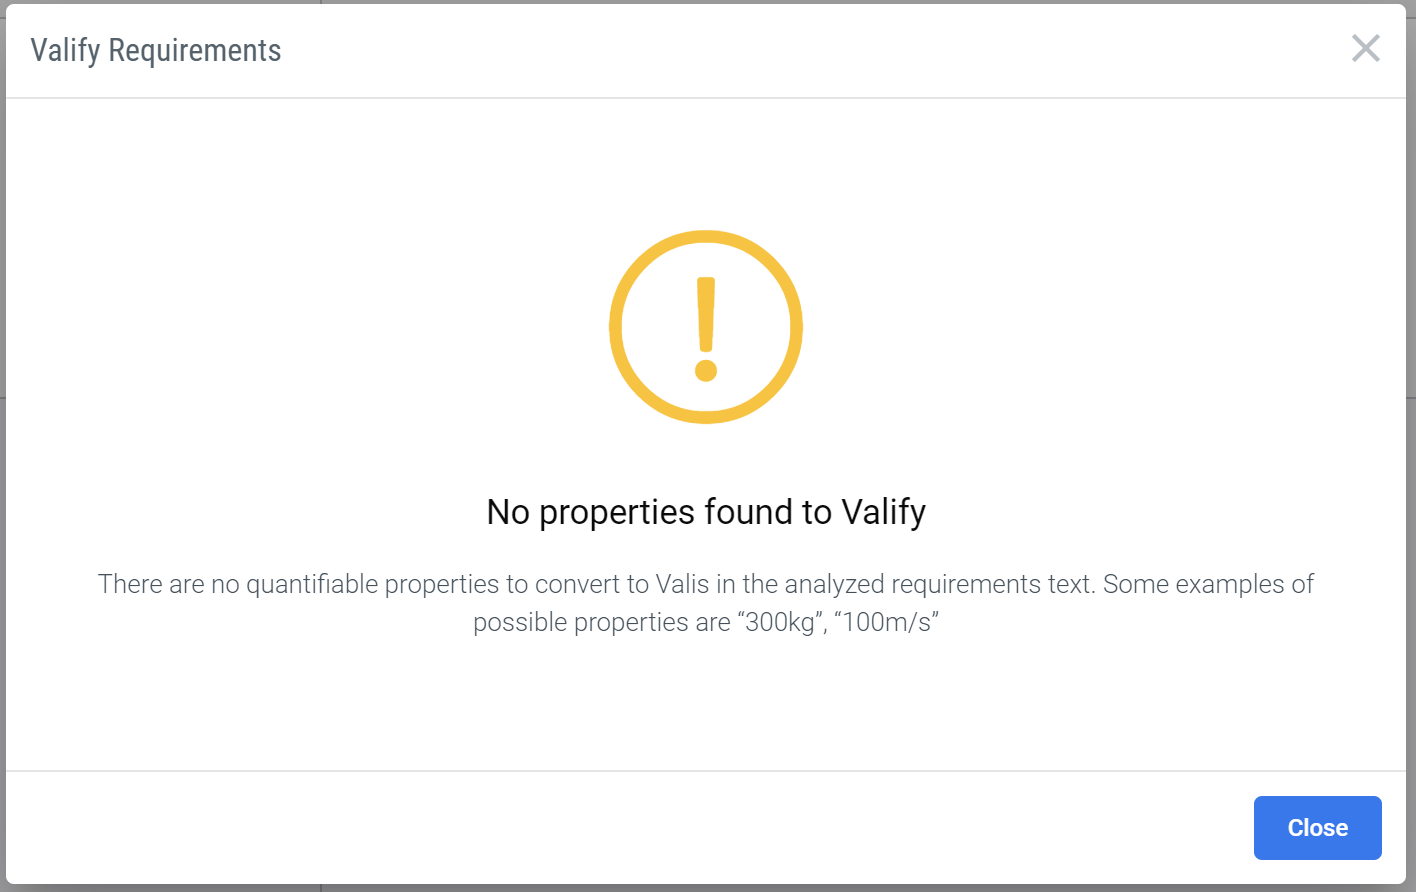
No Valis found Message
In case potential Valis are found, the user receives information on how many Valis where found, in how many requirements so that the user can decide to proceed with the Valify process or cancel it.
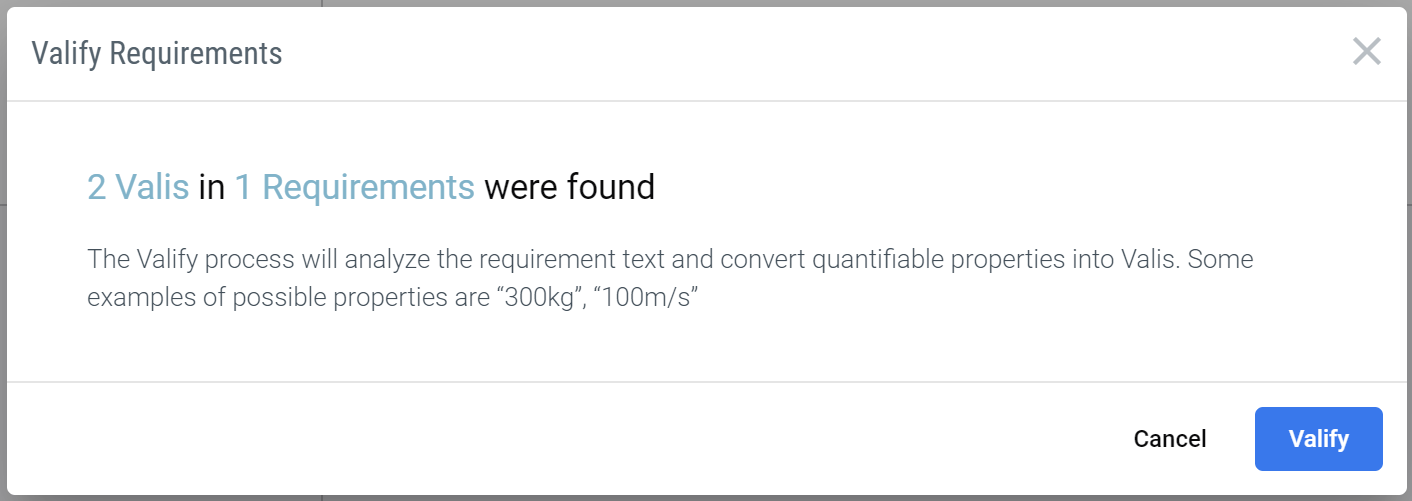
Information on how many Valis have been found.
3 - Valifying
If the decision is to Valify, the user is presented with a loading screen while the Requirements and Systems Portal creates the Valis and updates the requirements.

If the creation of Valis is successful, the Requirements and Systems Portal will inform the user of how many Valis where created and in how many requirements, concluding the the automatic Vali creation with Valify.

Valify Completed - Confirmation message of Valify
A summary will be displayed at the completion screen in case any errors occurs during the creation of Valis or the requirements' update
The created Valis will have a naming convention that is based on the Identifier of the Requirement. The user can always hover over the Vali and select the pencil symbol to change the name, value, display unit or decimal places to show. Changing the name to a more meaningful name makes sense for easier reference later on.