Fan Tutorial 1 - Specify Product - Part 2
In the context of this documentation “Valispace“ will be called “Requirements and Systems Portal“.
This is the Continuation of the Fan tutorial - Specify Product - part 1 where we cover the topics of the common flows such as “Review and Improve Requirements” and “Approve and Release Specifications”. In this part, we cover, how you can update or manage requirements, create discussions, reviews and analysis blocks of requirements and share them.
This part would take around 15-25 mins.
(4) Update, Manage and Review Requirements
Throughout the development process, it's common for requirements to evolve and be updated based on various factors, such as stakeholder input and design constraints. In the Requirements and Systems Portal, you can directly update requirements by double-clicking on the column fields or within the details section of the requirement, and all changes are recorded in the History for easy reference. Note that any change increases the requirement by one or more minor versions (please check Version and Releases for more information).
Collaboration and reviews are crucial to ensure the requirements are thoroughly discussed and evaluated. The Requirements and Systems Portal offers powerful features like discussions, Tasks, and the review center to facilitate these crucial steps.
In the following steps, we will demonstrate how you can effectively utilize discussions to engage in meaningful conversations with your groups or colleagues, fostering collaboration and ensuring the best possible outcome for your project.
Creating Discussions on a requirement
To create a discussion on the requirement R-Fan-002, follow these steps:
Click
 on the Actions columns, hover over to
 + Add, and select :discussion:Discussion.Upon clicking the icon, a dialogue box opens. Here, type
@, and you will have the list of users in the dropdown. Select any user and copy and paste the following question: Is it feasible to have propellers for 50g, or do we need more mass allocation?Click on
Addand thenClose.
The steps to raise a discussion are illustrated in the tutorial below.
Creating a new discussion
Once you tag your colleague(s) using “@” and post a discussion, the user will receive a notification under the icon ![]() , where they can access the discussion(s) and write comments to follow up.
, where they can access the discussion(s) and write comments to follow up.
Apart from Discussions, the Requirements and Systems Portal offers a dedicated feature for Reviews, giving the involved Stakeholders a place to go through a formal Review. This feature is not covered in this Tutorial but feel free to explore the Review Center.
(5) Validating Requirements
In the early stages of the product lifecycle, it is crucial to validate Requirements before moving forward with the design process. The Requirements and Systems Portal provides a convenient way to manage Requirement states using the “State” column. By default, states like “Draft”, “In Review”, and “Final” are included, but users can add additional states based on their specific needs.
The following steps will show you how to assign the "Draft" state to newly added requirements, ensuring a structured and organized workflow.
Navigate over to the Fan_Specs
On the side, click
Columns(1) in the right corner and tickState(2) if it is not selected. This action enables or disables the state column in your Requirements table (see Figure Enable State Column).
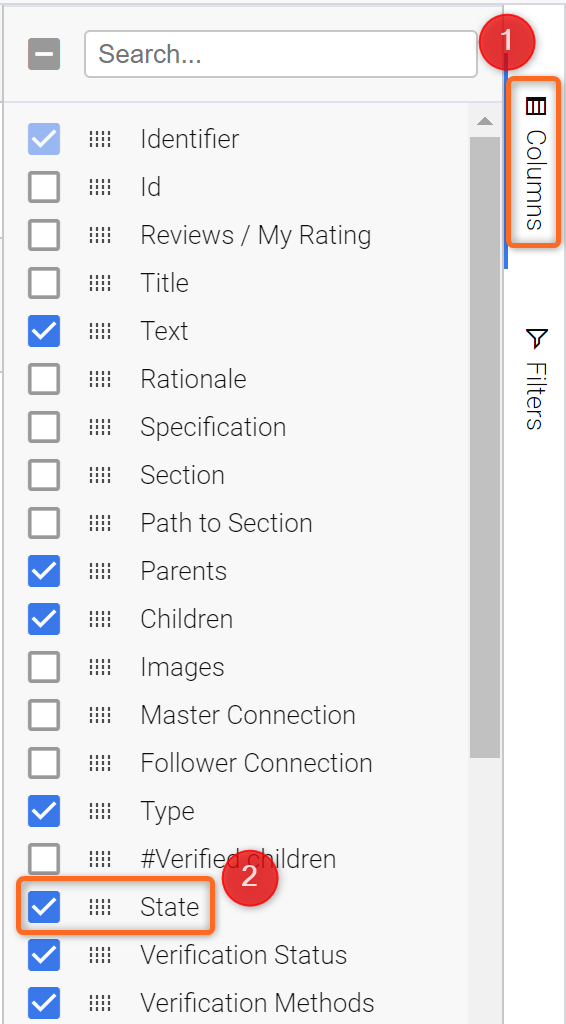
Enable State Column - To enable the State column, open the Columns sidebar and select State.
Tick the small rectangular box on the top left of the Identifier column. This selects all the requirements within the specification.
Now, hover over to the state column and double-click on the first cell of the
R-Fan-001state column. This will open a drop-down with the “State” options list.Select
Draftand clickYeson the confirmation dialogue box. This bulk edit adds the “Draft” state to all the Requirements.
These steps are illustrated in the click-through below.
Adding the “State” Attribute information
You can also create an automatic transition of states from “Final” to “Draft” or “In Review”, whenever there is an edit to the requirement’s Identifier, Title or Text field. You can find more information in this article.
(6) Create an Analysis/Documentation
As an engineer, you might have to create an Analysis to leverage your engineering data and document the properties of your design. You can use our inbuilt Analyses module for this.
Add a descriptive Analysis.
Go to the Analyses Module (see Figure Accessing the Analysis Module) by clicking the
Analysesbutton (1) in the left sidebar.Create a new analysis by clicking on
+ Documents(2).
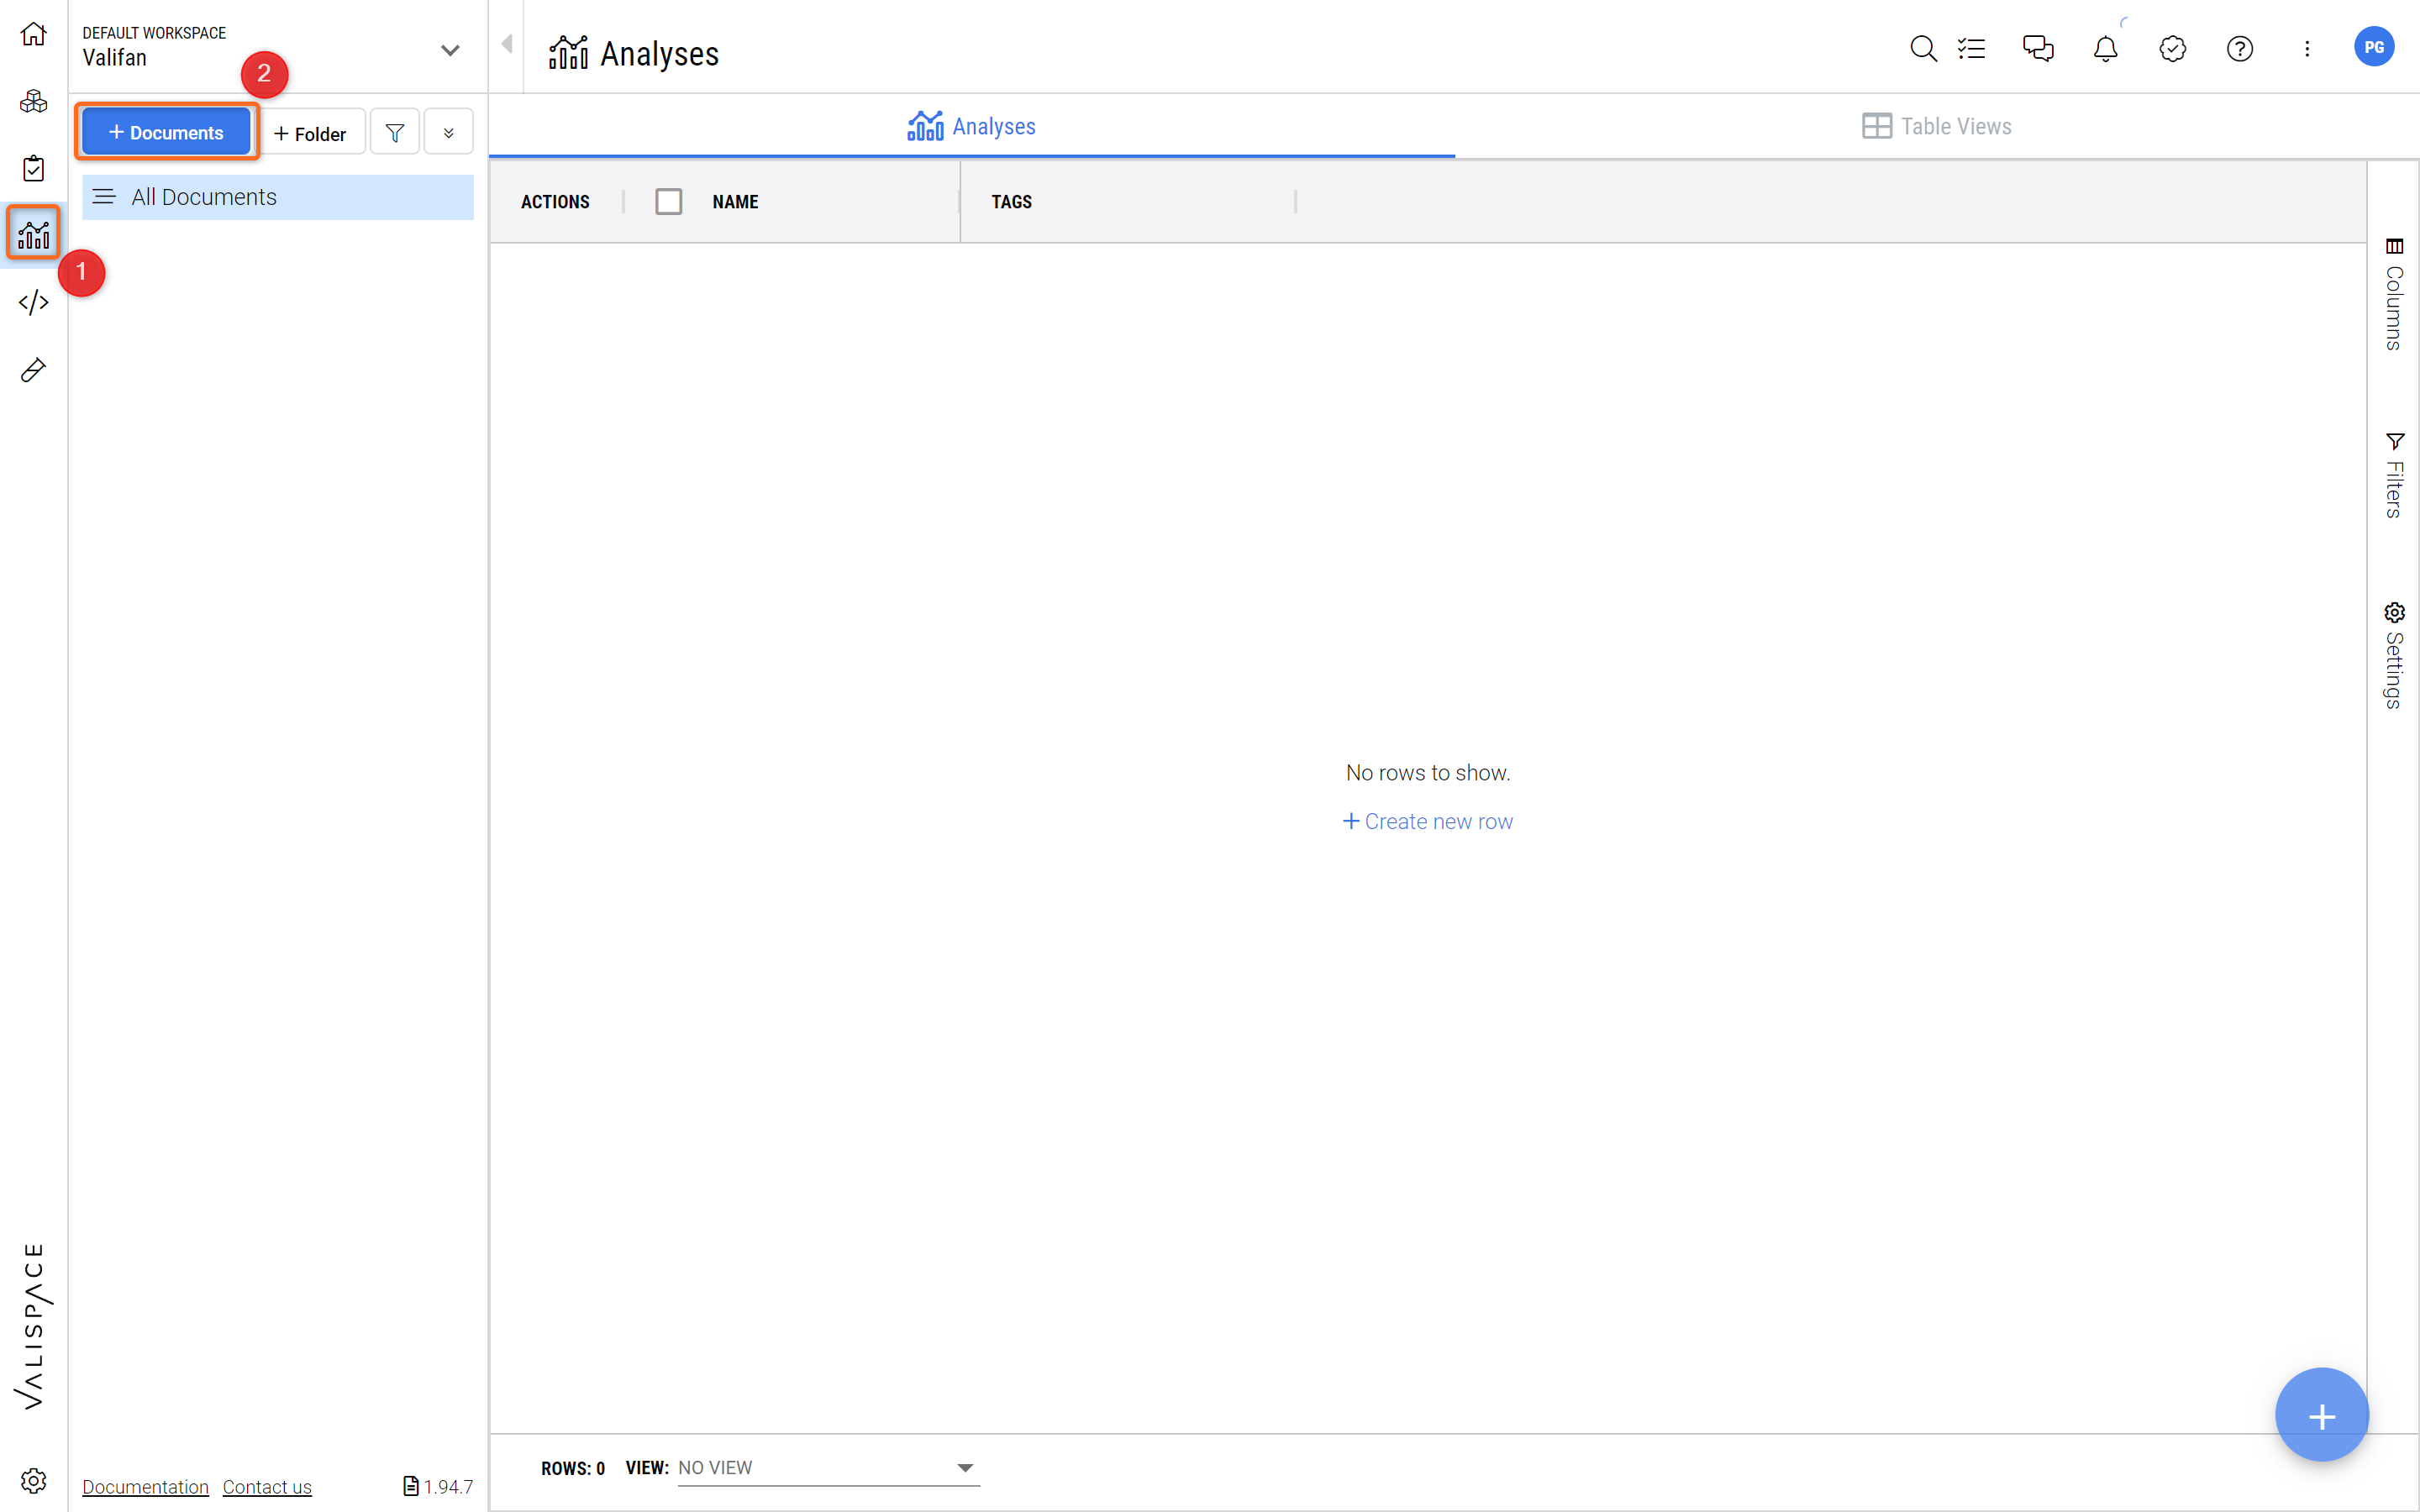
Accessing the Analysis Module - In the Module Navigation bar select Analyses to reach the internal documentation module.
In the Create document dialogue box (see Figure Creating a Project Summary), name the analysis as
Project_Summary(1) and clickCreate(2).
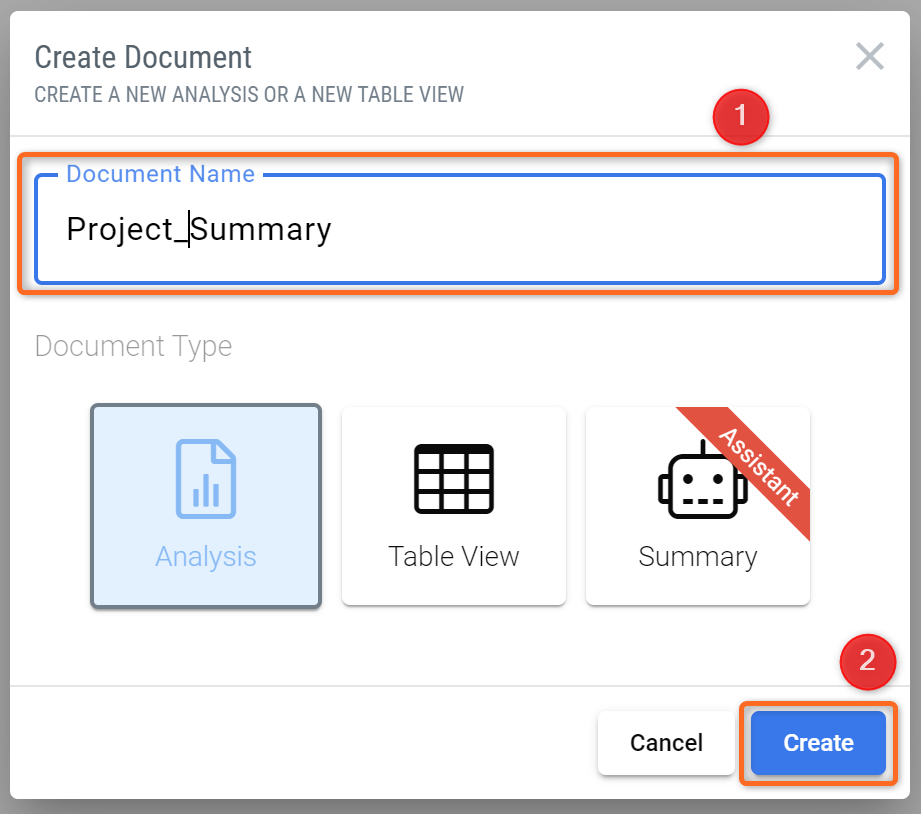
Creating a Project Summary - The Requirements and Systems Portal lets you create internal documentation where you can pull in and reference all the data from your Workspace.
The analysis consists of blocks, which can be texts, images, videos, charts, or tables. Click inside the existing block
1. Write heading...and typeIntroductionClick on the second
textblock and copy and paste the following sentence into it:
“The ValiFan is designed in a way that it works with less power than conventional Fans.”
Once completed, you can click outside of the block to save the content (see Figure Adding Information to the Document).
The users can click on
Click to add new blockto add additional blocks that can be of different types (text, images, tables or charts). This will be explored in the next steps.
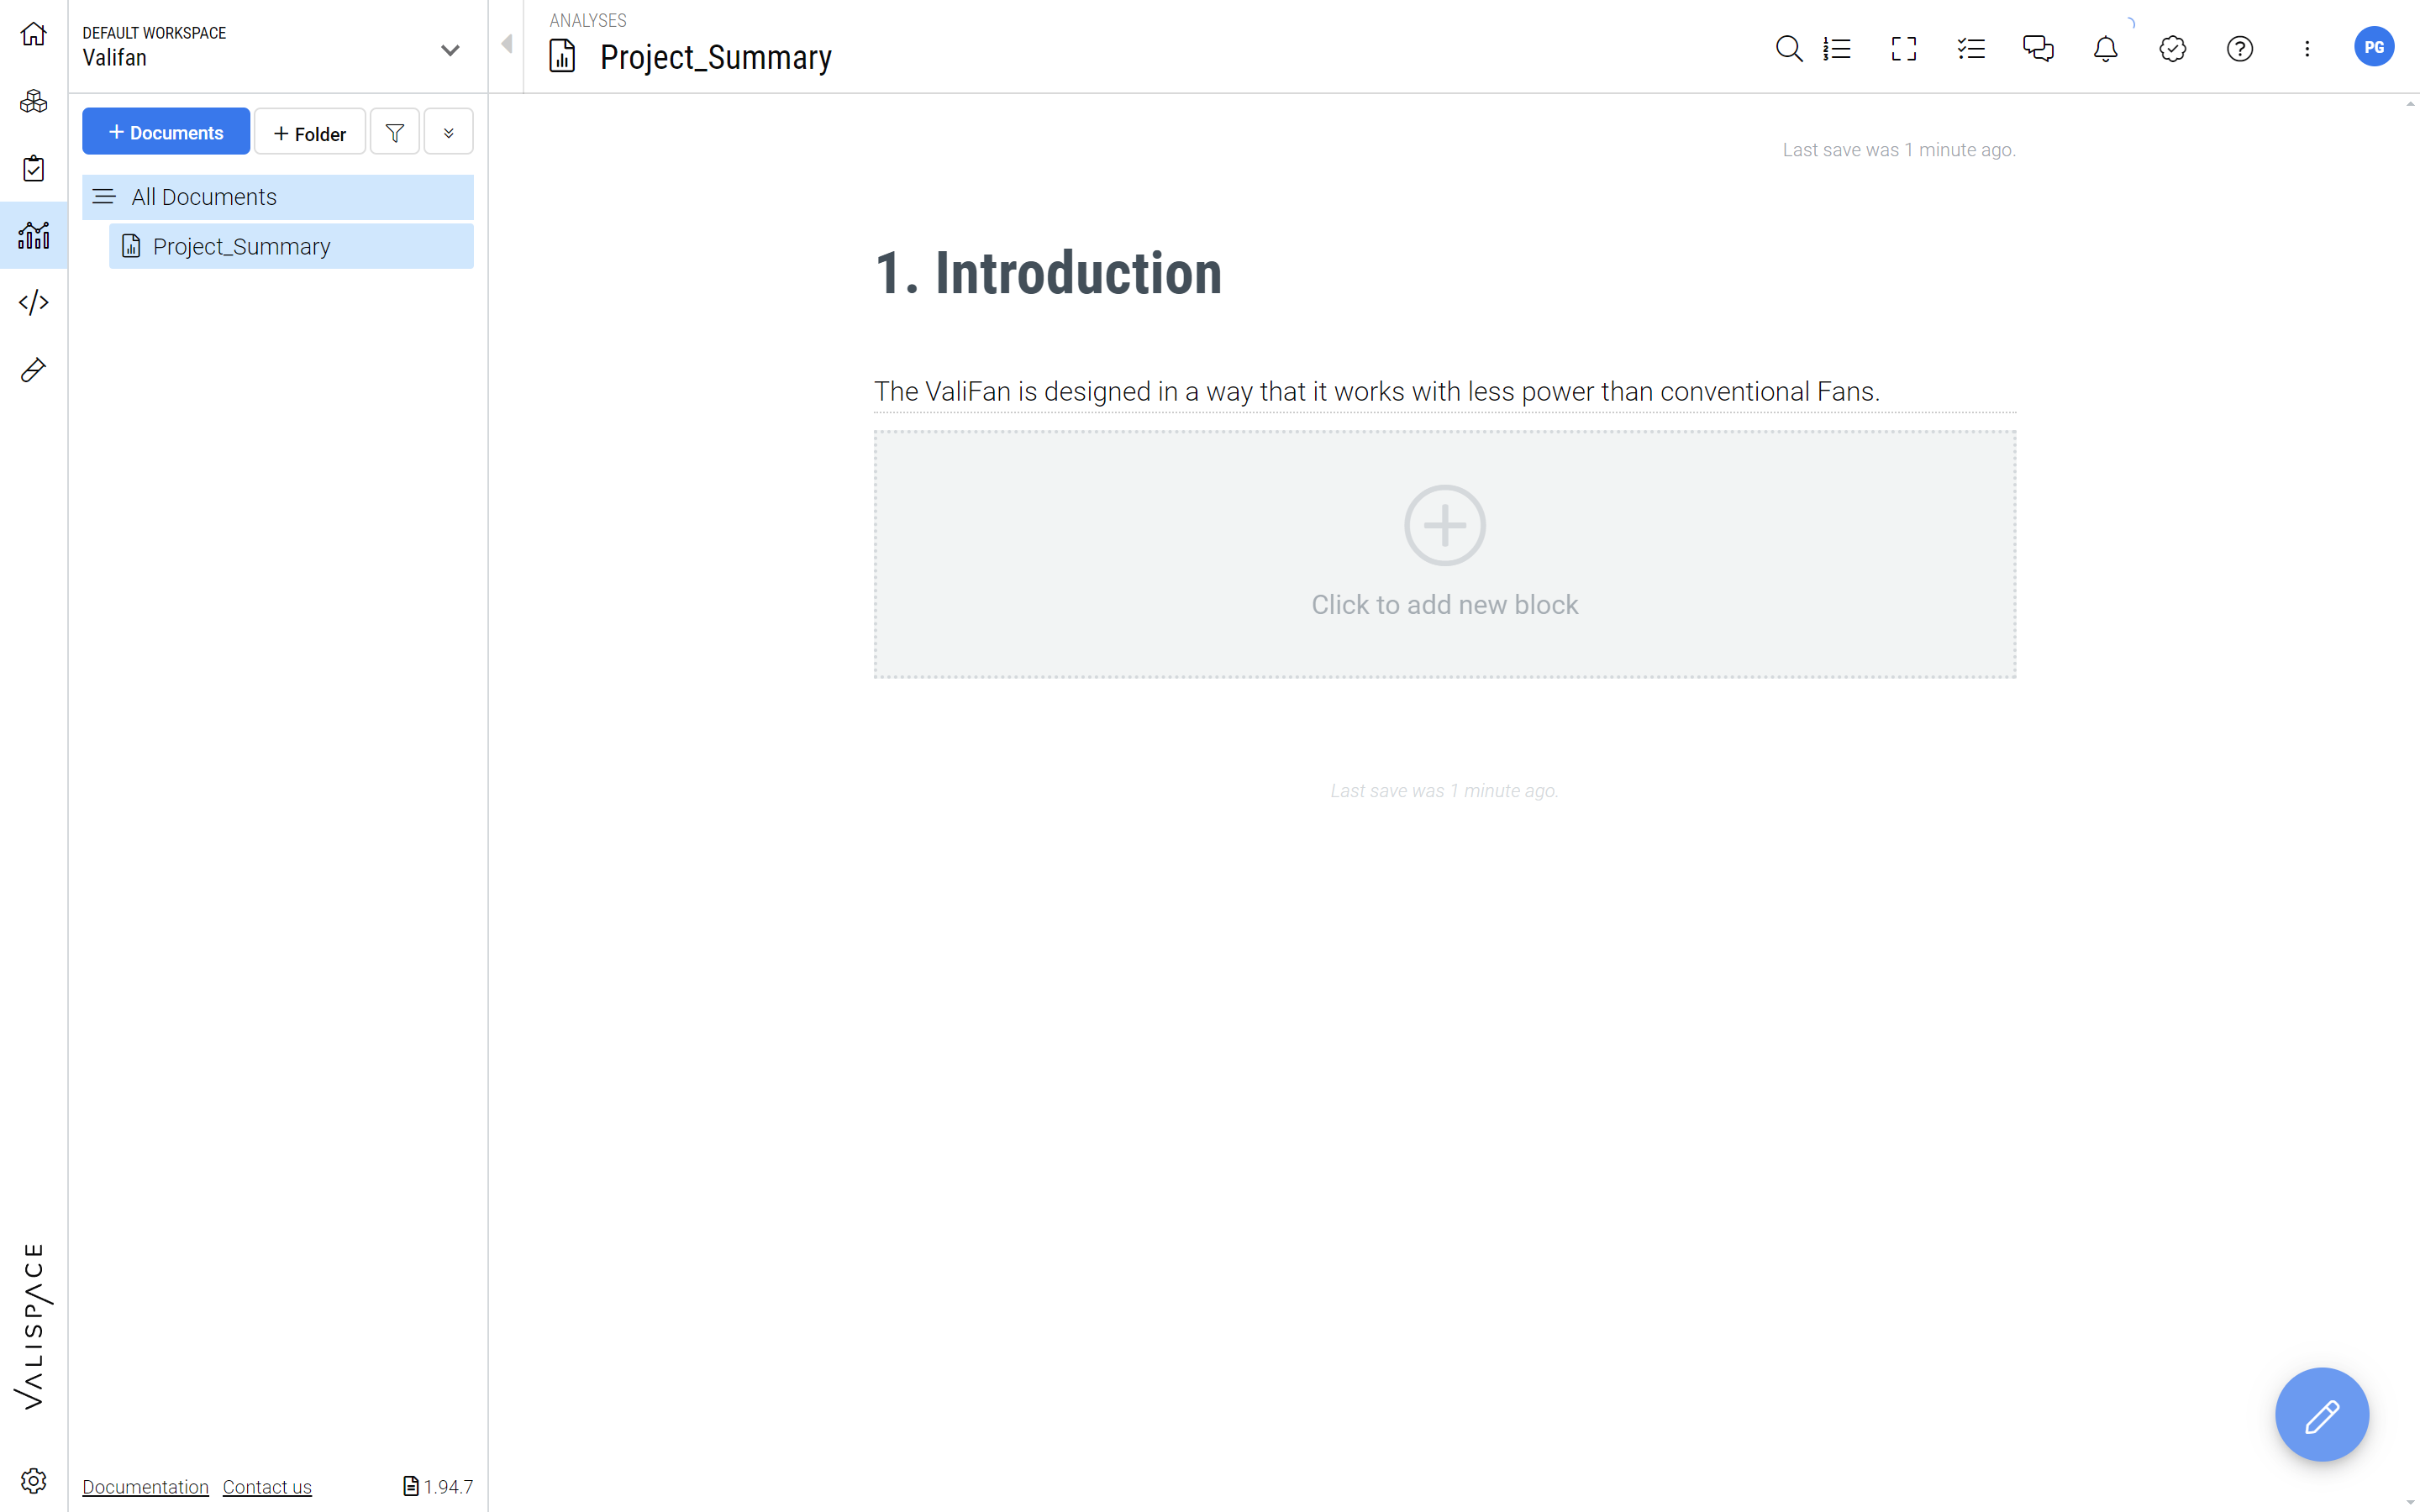
Adding Information to the Document - Using Blocks any type of information can be added: Text, references to Requirements and Valis, Budgets, Graphs and Tables.
PowerUserTip: click + Folder in the left navigation pane to create a Folder to organize your Reports.
Creating a Table of Requirements - Stakeholder specifications
You can create a table of requirements from the stakeholder specifications. To create a table:
Select the
Click to add new blockSelect the option
Tableson the popup dialogue box. Here, chooseRequirements.
Now, a table with all the project’s requirements is created. Also, you can select the list of columns you would like to have in the tables. Since our aim is to show only the Requirements from the “stakeholder_requirements” Specification, you can use the filter option for the specification. This is demonstrated in the following tutorial.
Adding “stakeholders_requirements” to our analysis
Sharing the Analysis Module
You can share the created Analysis with your colleagues or stakeholders through the option “Share”. To do that:
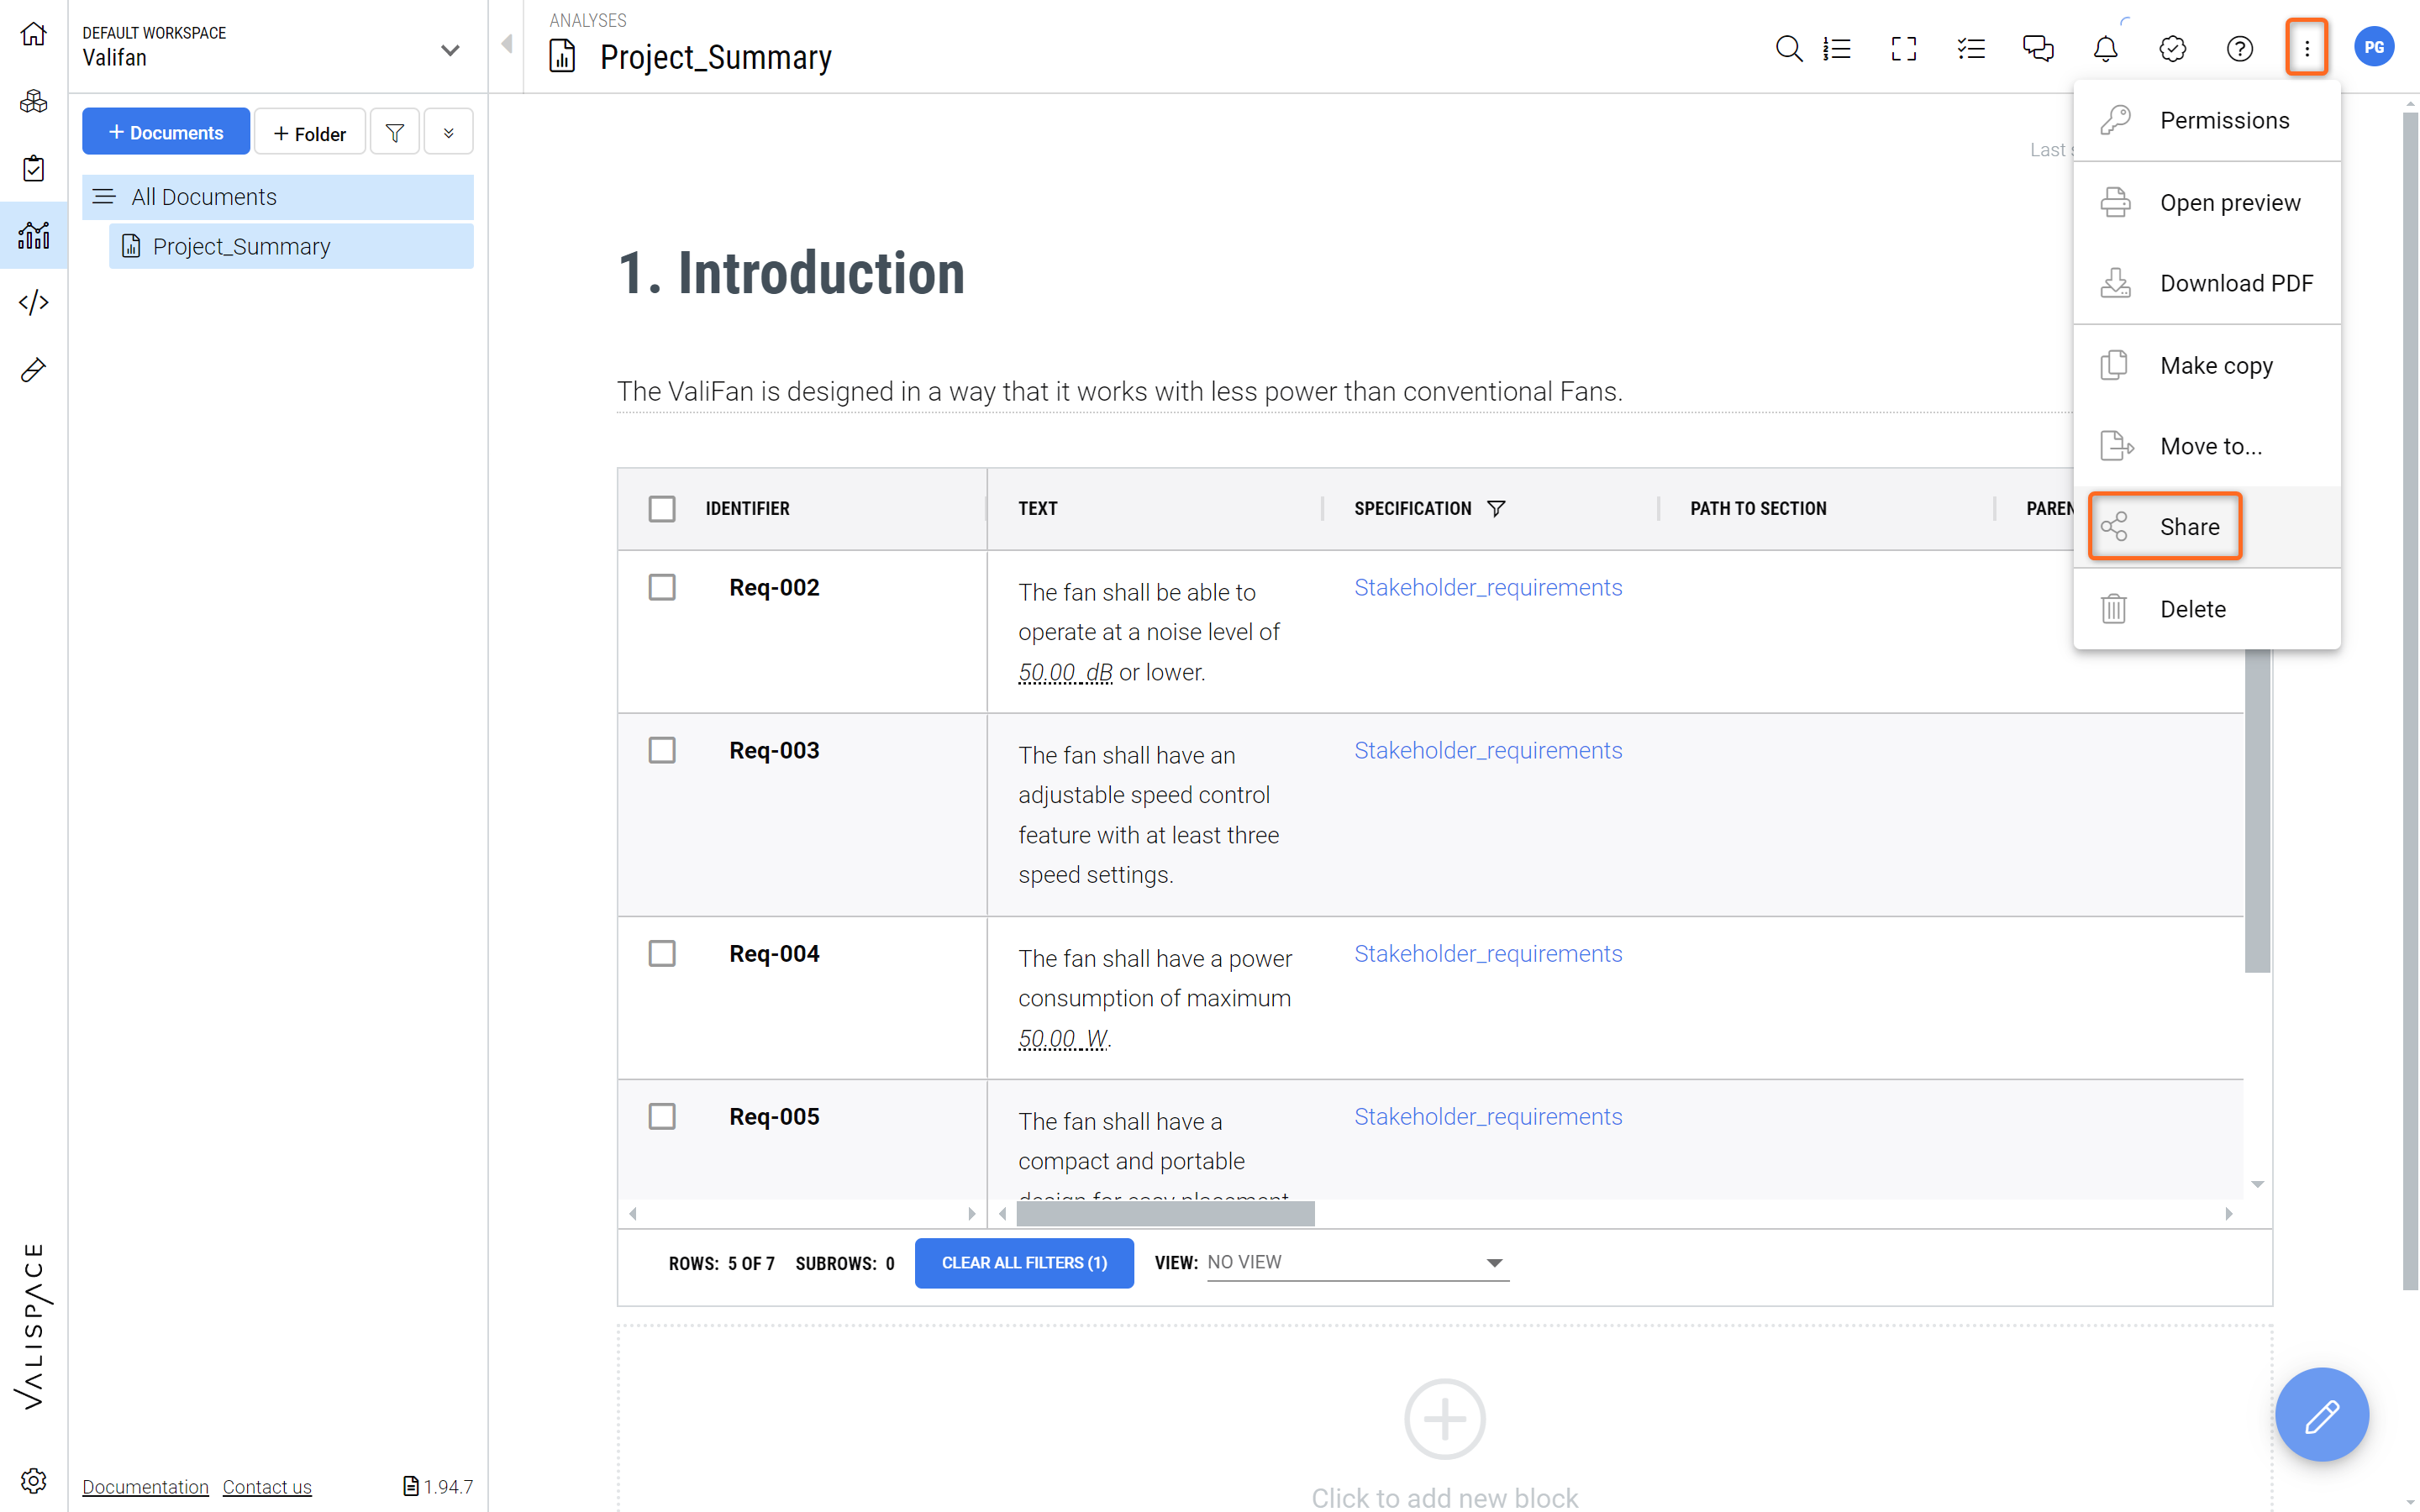
Click on the three vertical dots in the upper right-hand corner
Select the option
Sharefrom the dropdown menu
Share your Report - By clicking on the three dots in the upper right-hand corner and selecting “Share” you can create a shareable link for anyone outside of the Requirements and Systems Portal.
Select any user from the drop-down and click on
Create new link(1). This creates a new link which you can copy and share with your colleagues or stakeholders(2).
Check out Figure Creating a Link to see how this is done.
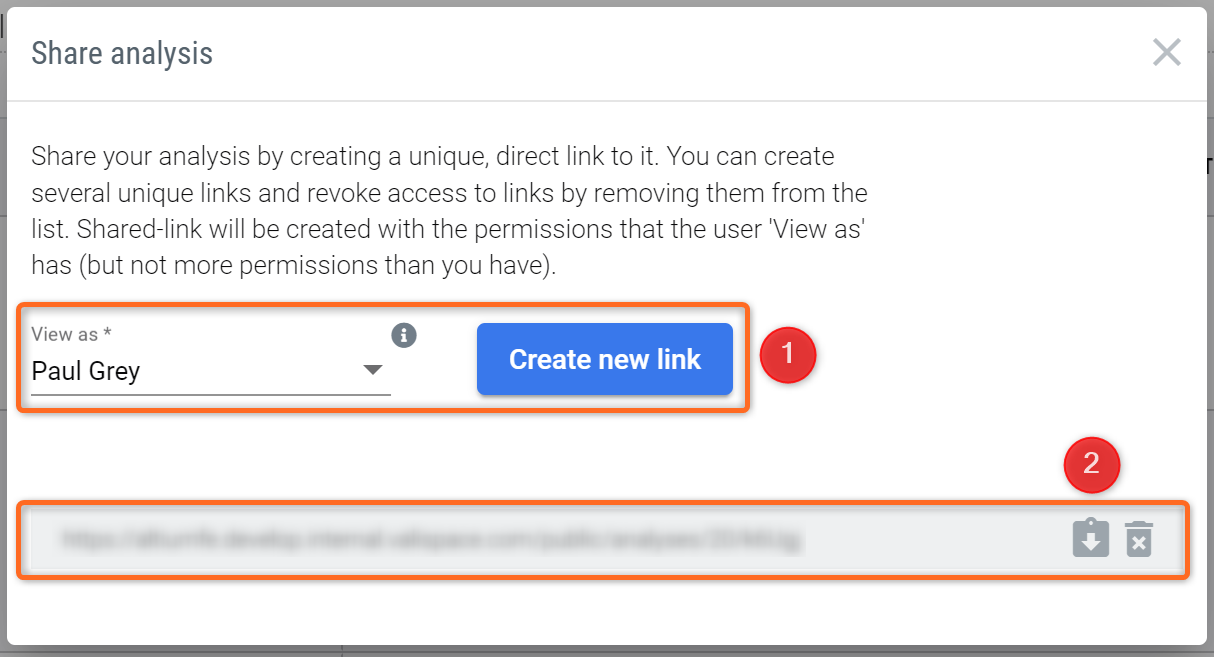
Creating a Link - The created link can be shared with external Stakeholders.
The shared Analysis is a Web View of the document that is created in the Requirements and Systems Portal and stays up to date with the latest changes.
The Web View can be accessed by anybody without the need for a Requirements and Systems Portal licence.
Next Steps?
Congratulations! You now know how to specify a product in the Requirements and Systems Portal.
Look at our Fan Tutorial 2 to learn how to create a System structure of your Desktop fan with the “System Design Module”.